

Make Art Together: Paper Kite Project
With the kids home from school, the summer is a wonderful time for family artmaking. Here is a project you can make together and enjoy for days to come. You may have made one of these paper kites at a recent Summer Friday, but if you missed out, here’s your chance to learn how! This project will require the help of a grown-up, providing a great opportunity to work as a team and be creative together.
Below, I lead you through the kite-making process step-by-step. When it comes time to decorate your kite, be imaginative and make the project your own!
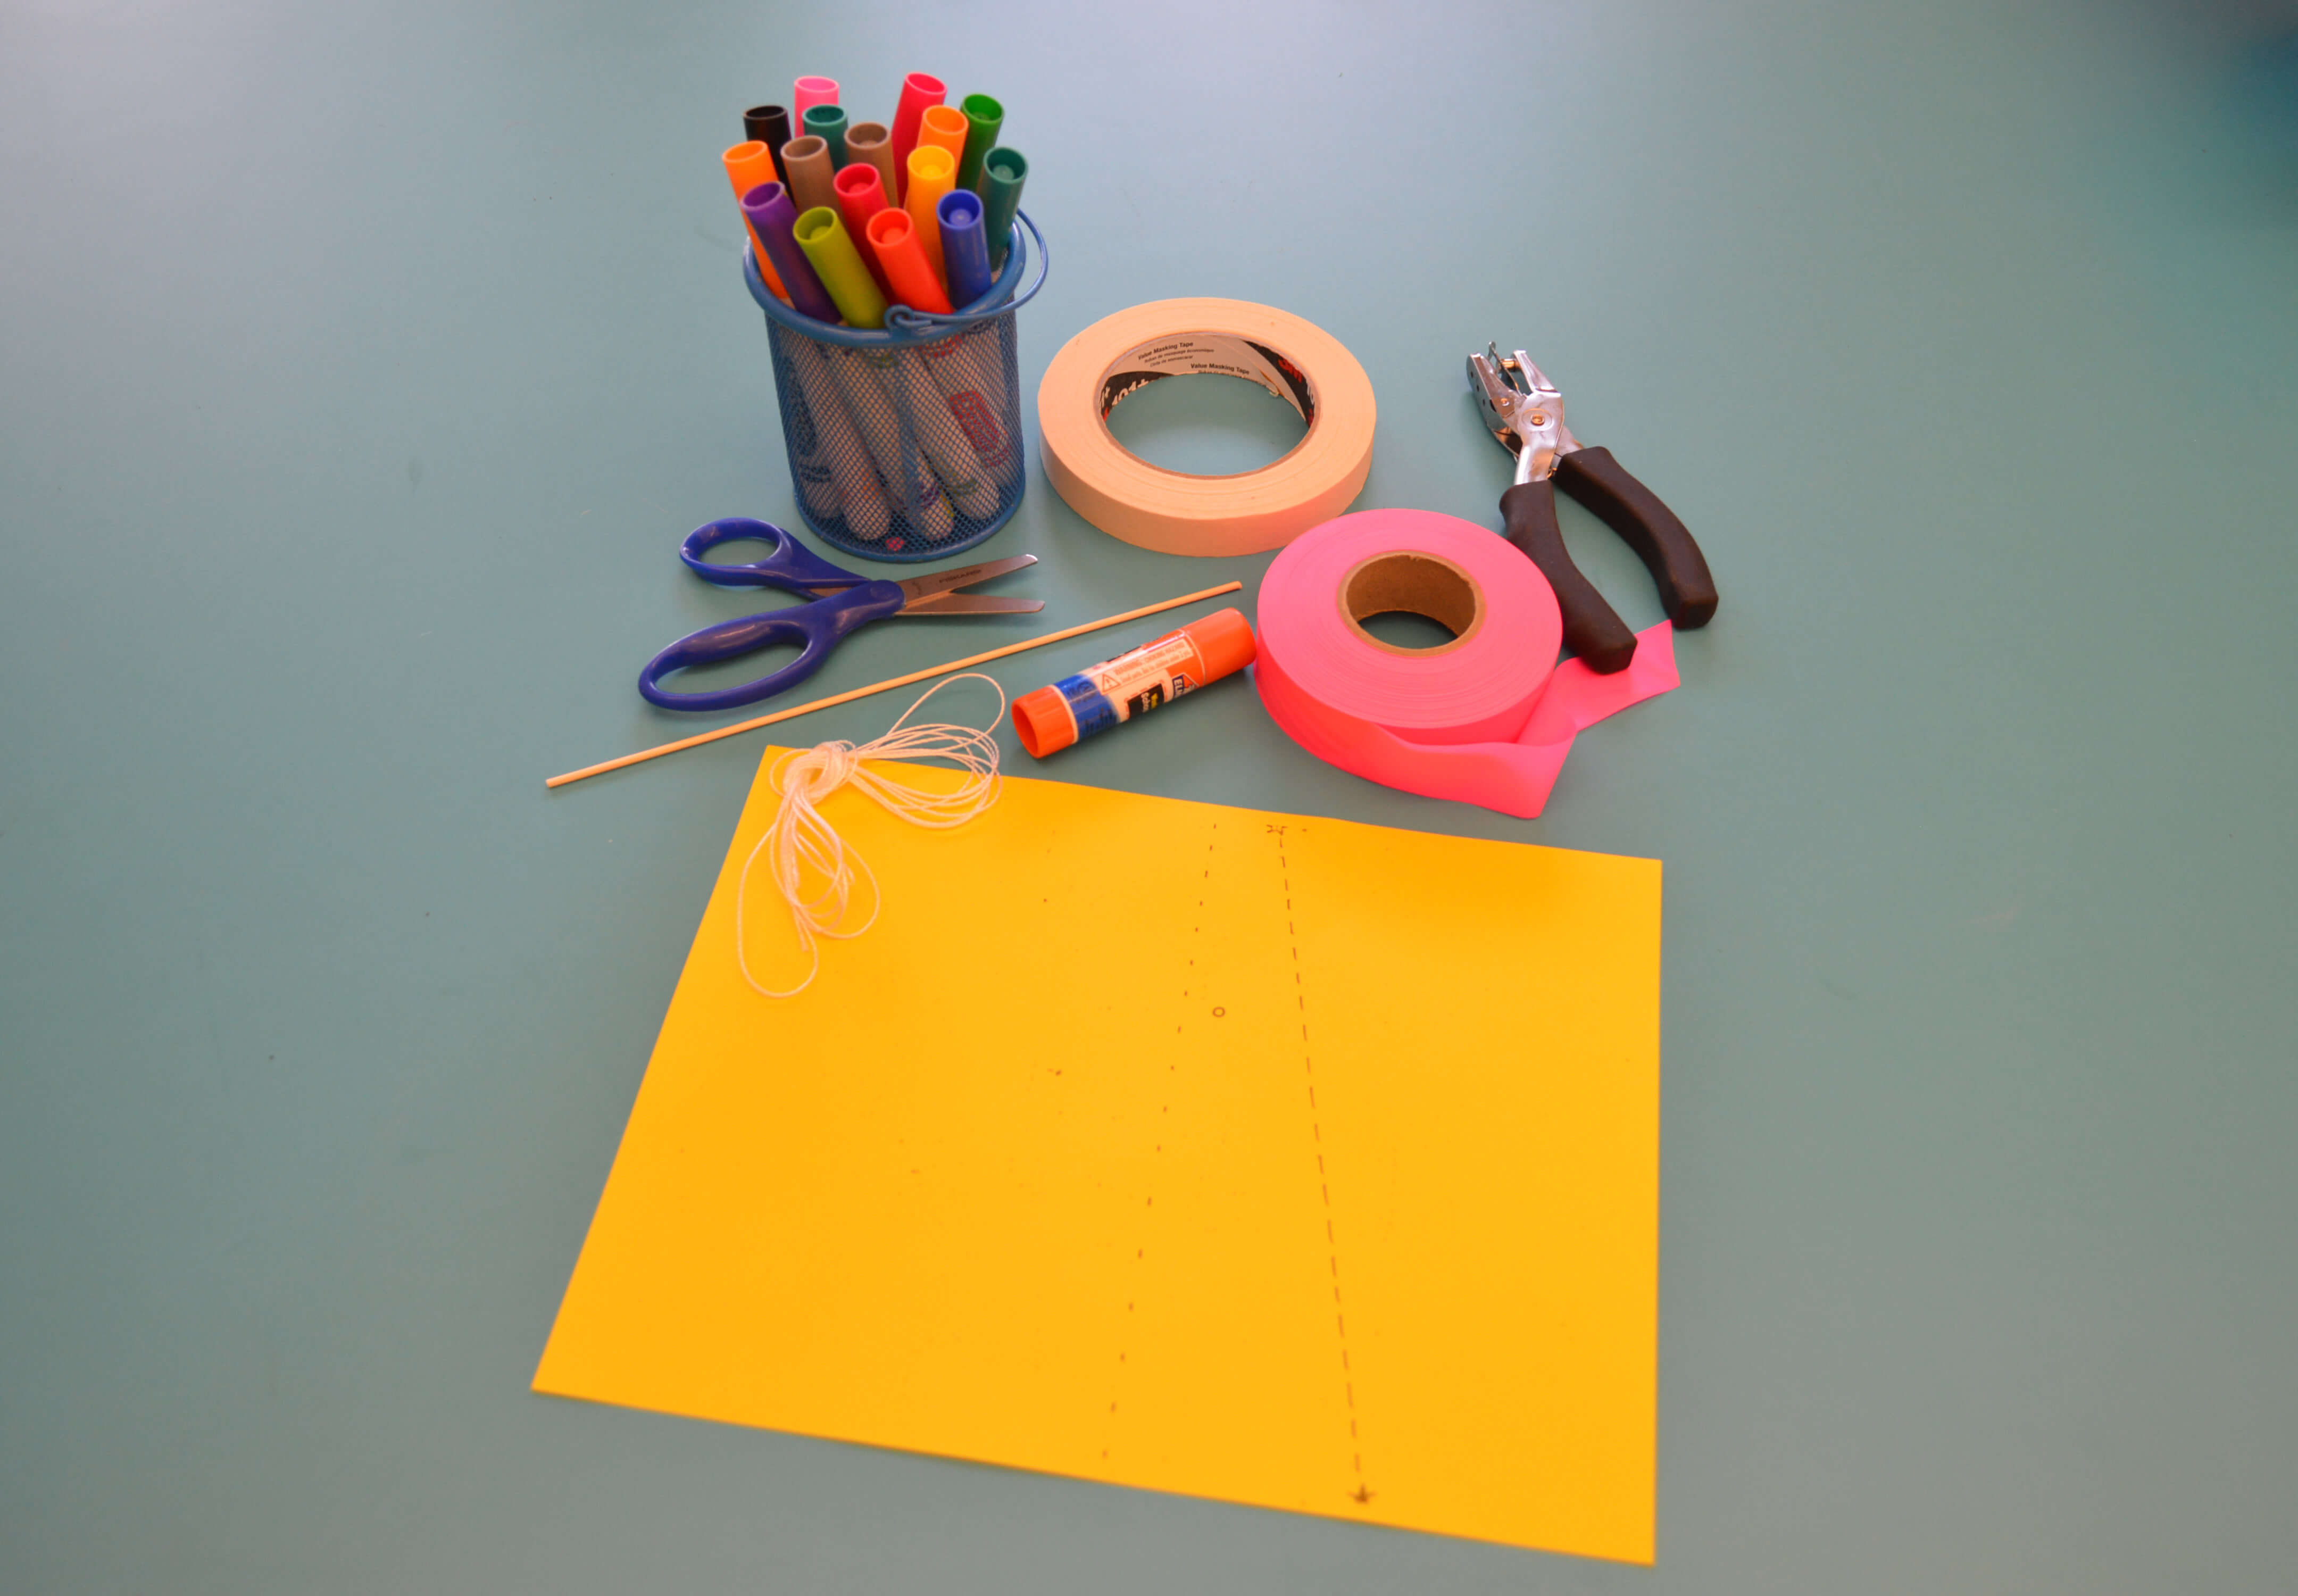
Supplies
BBQ skewer (cut down to 8 inches)
Glue stick
Hole punch
Flagging tape or streamer (for tail)
Markers/decorating materials
Paper
Scissors
String
Tape
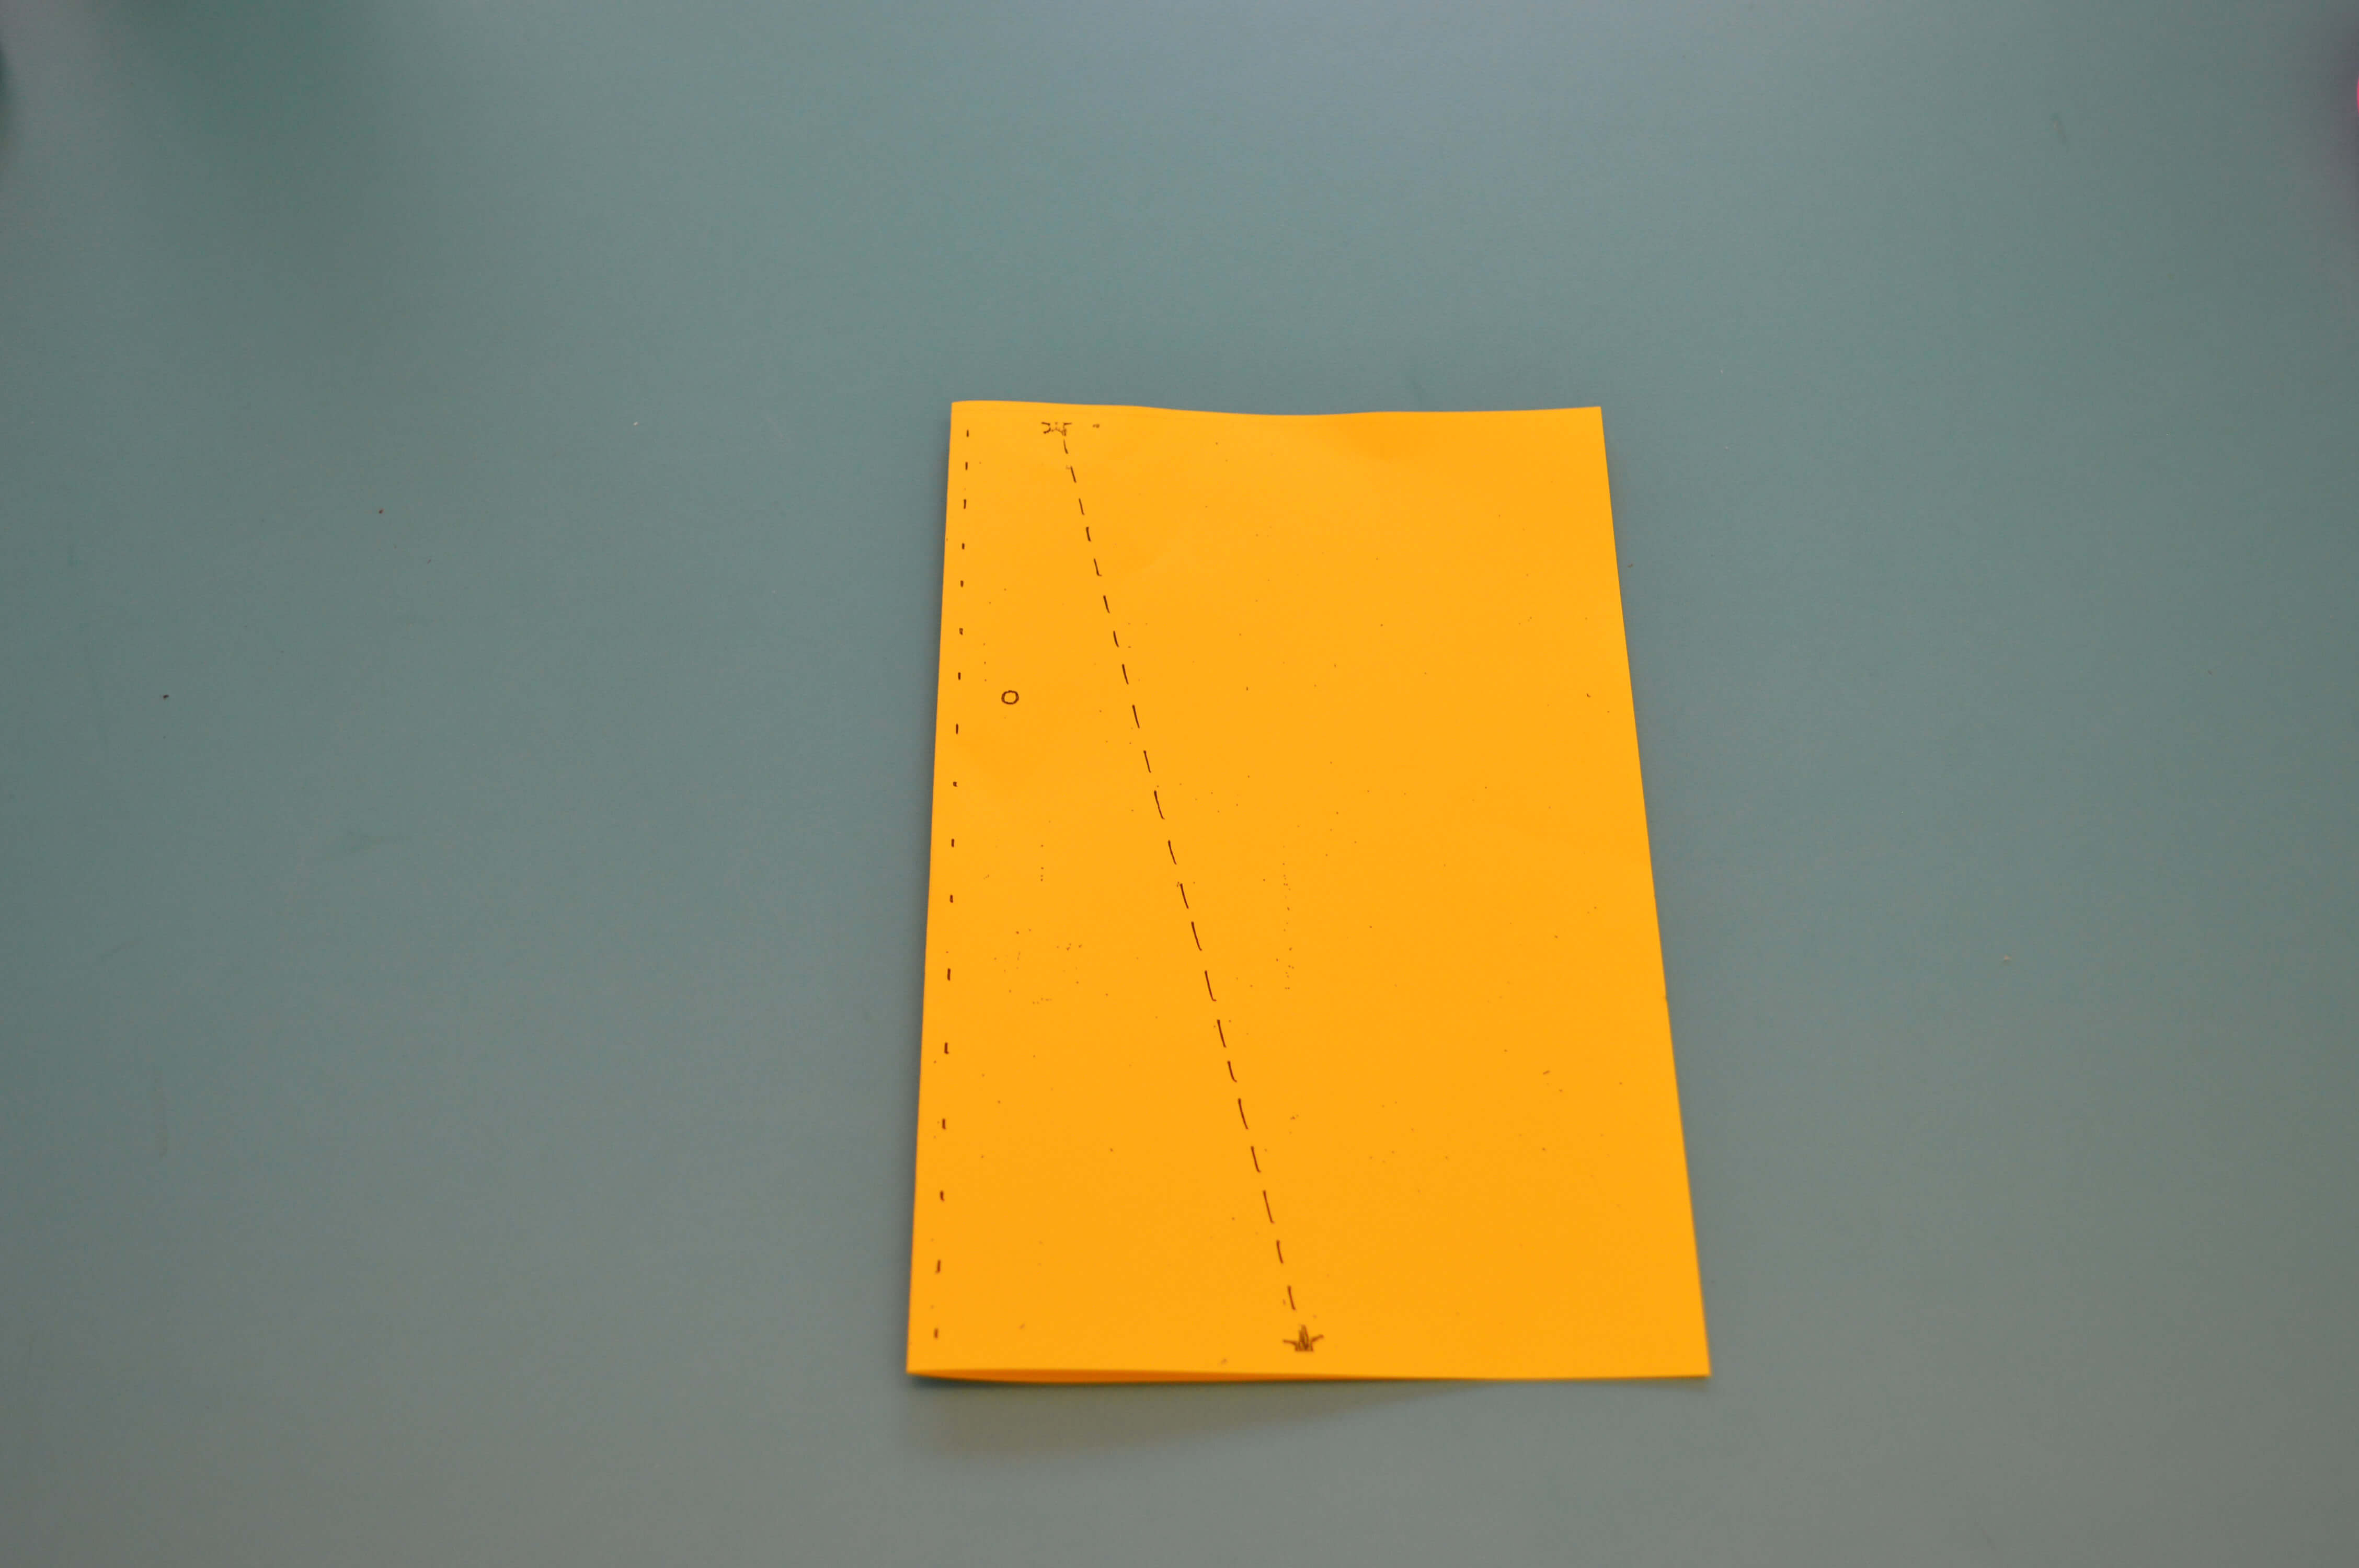
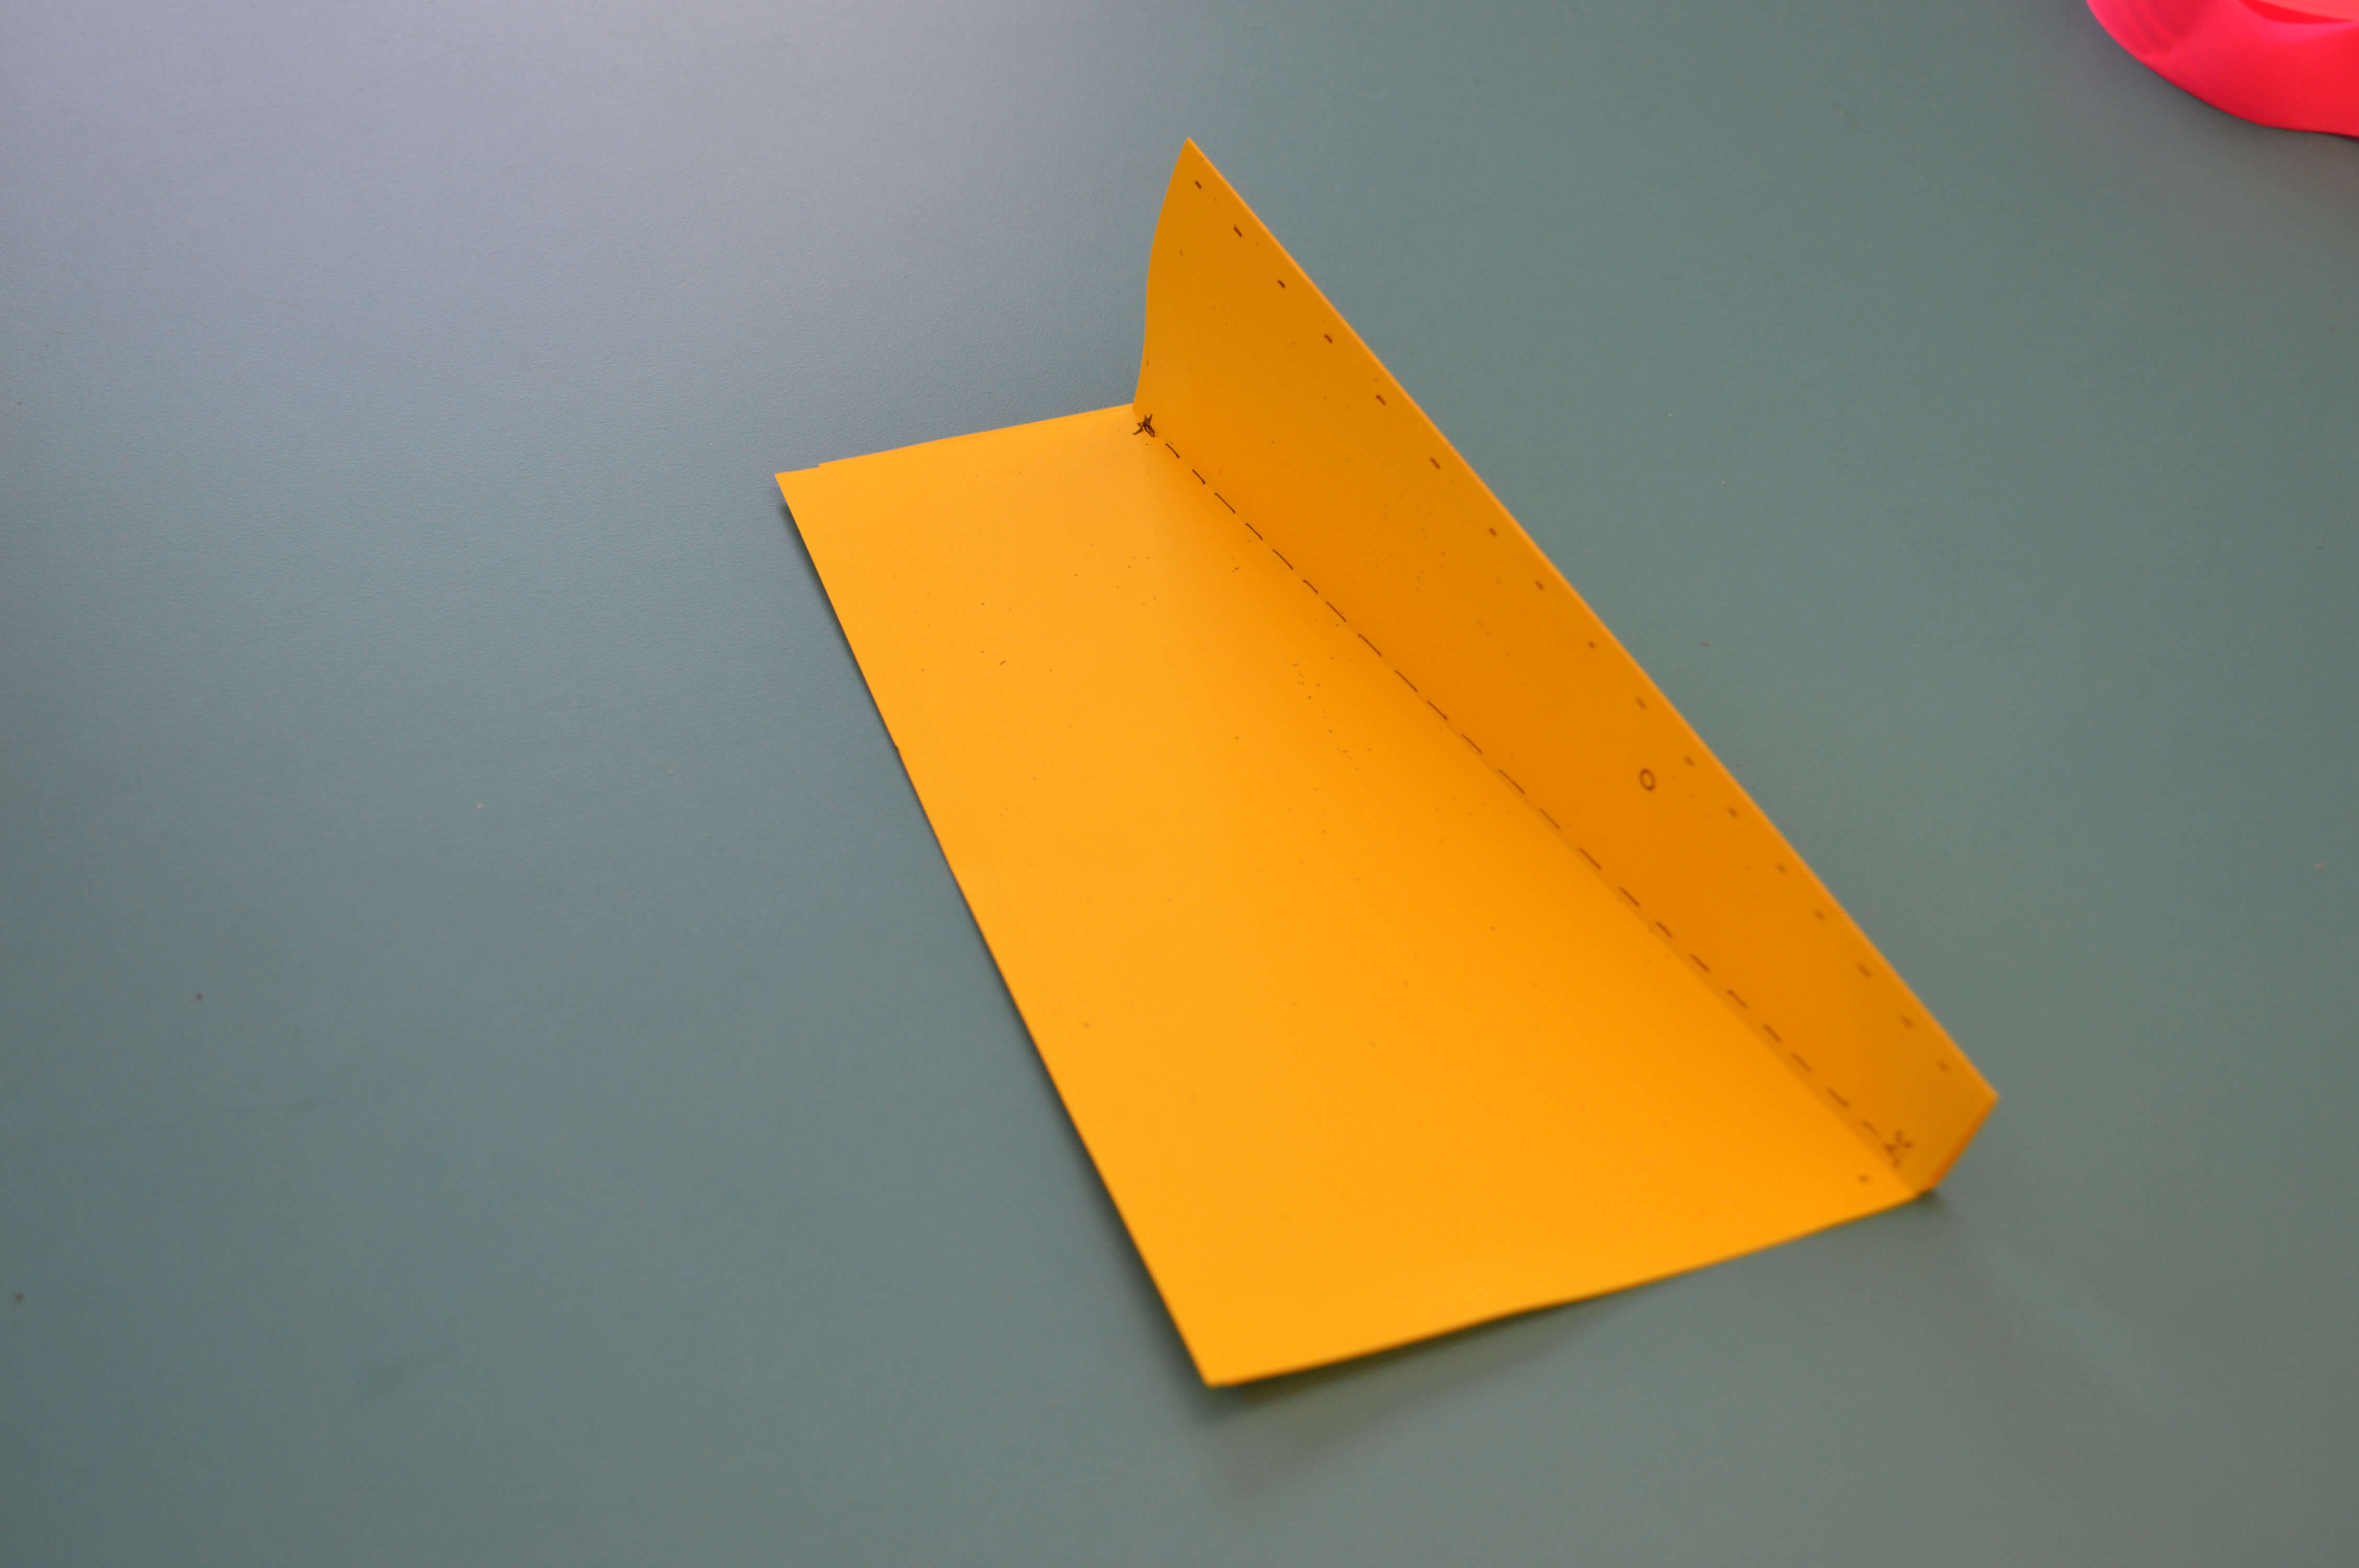
Step 1
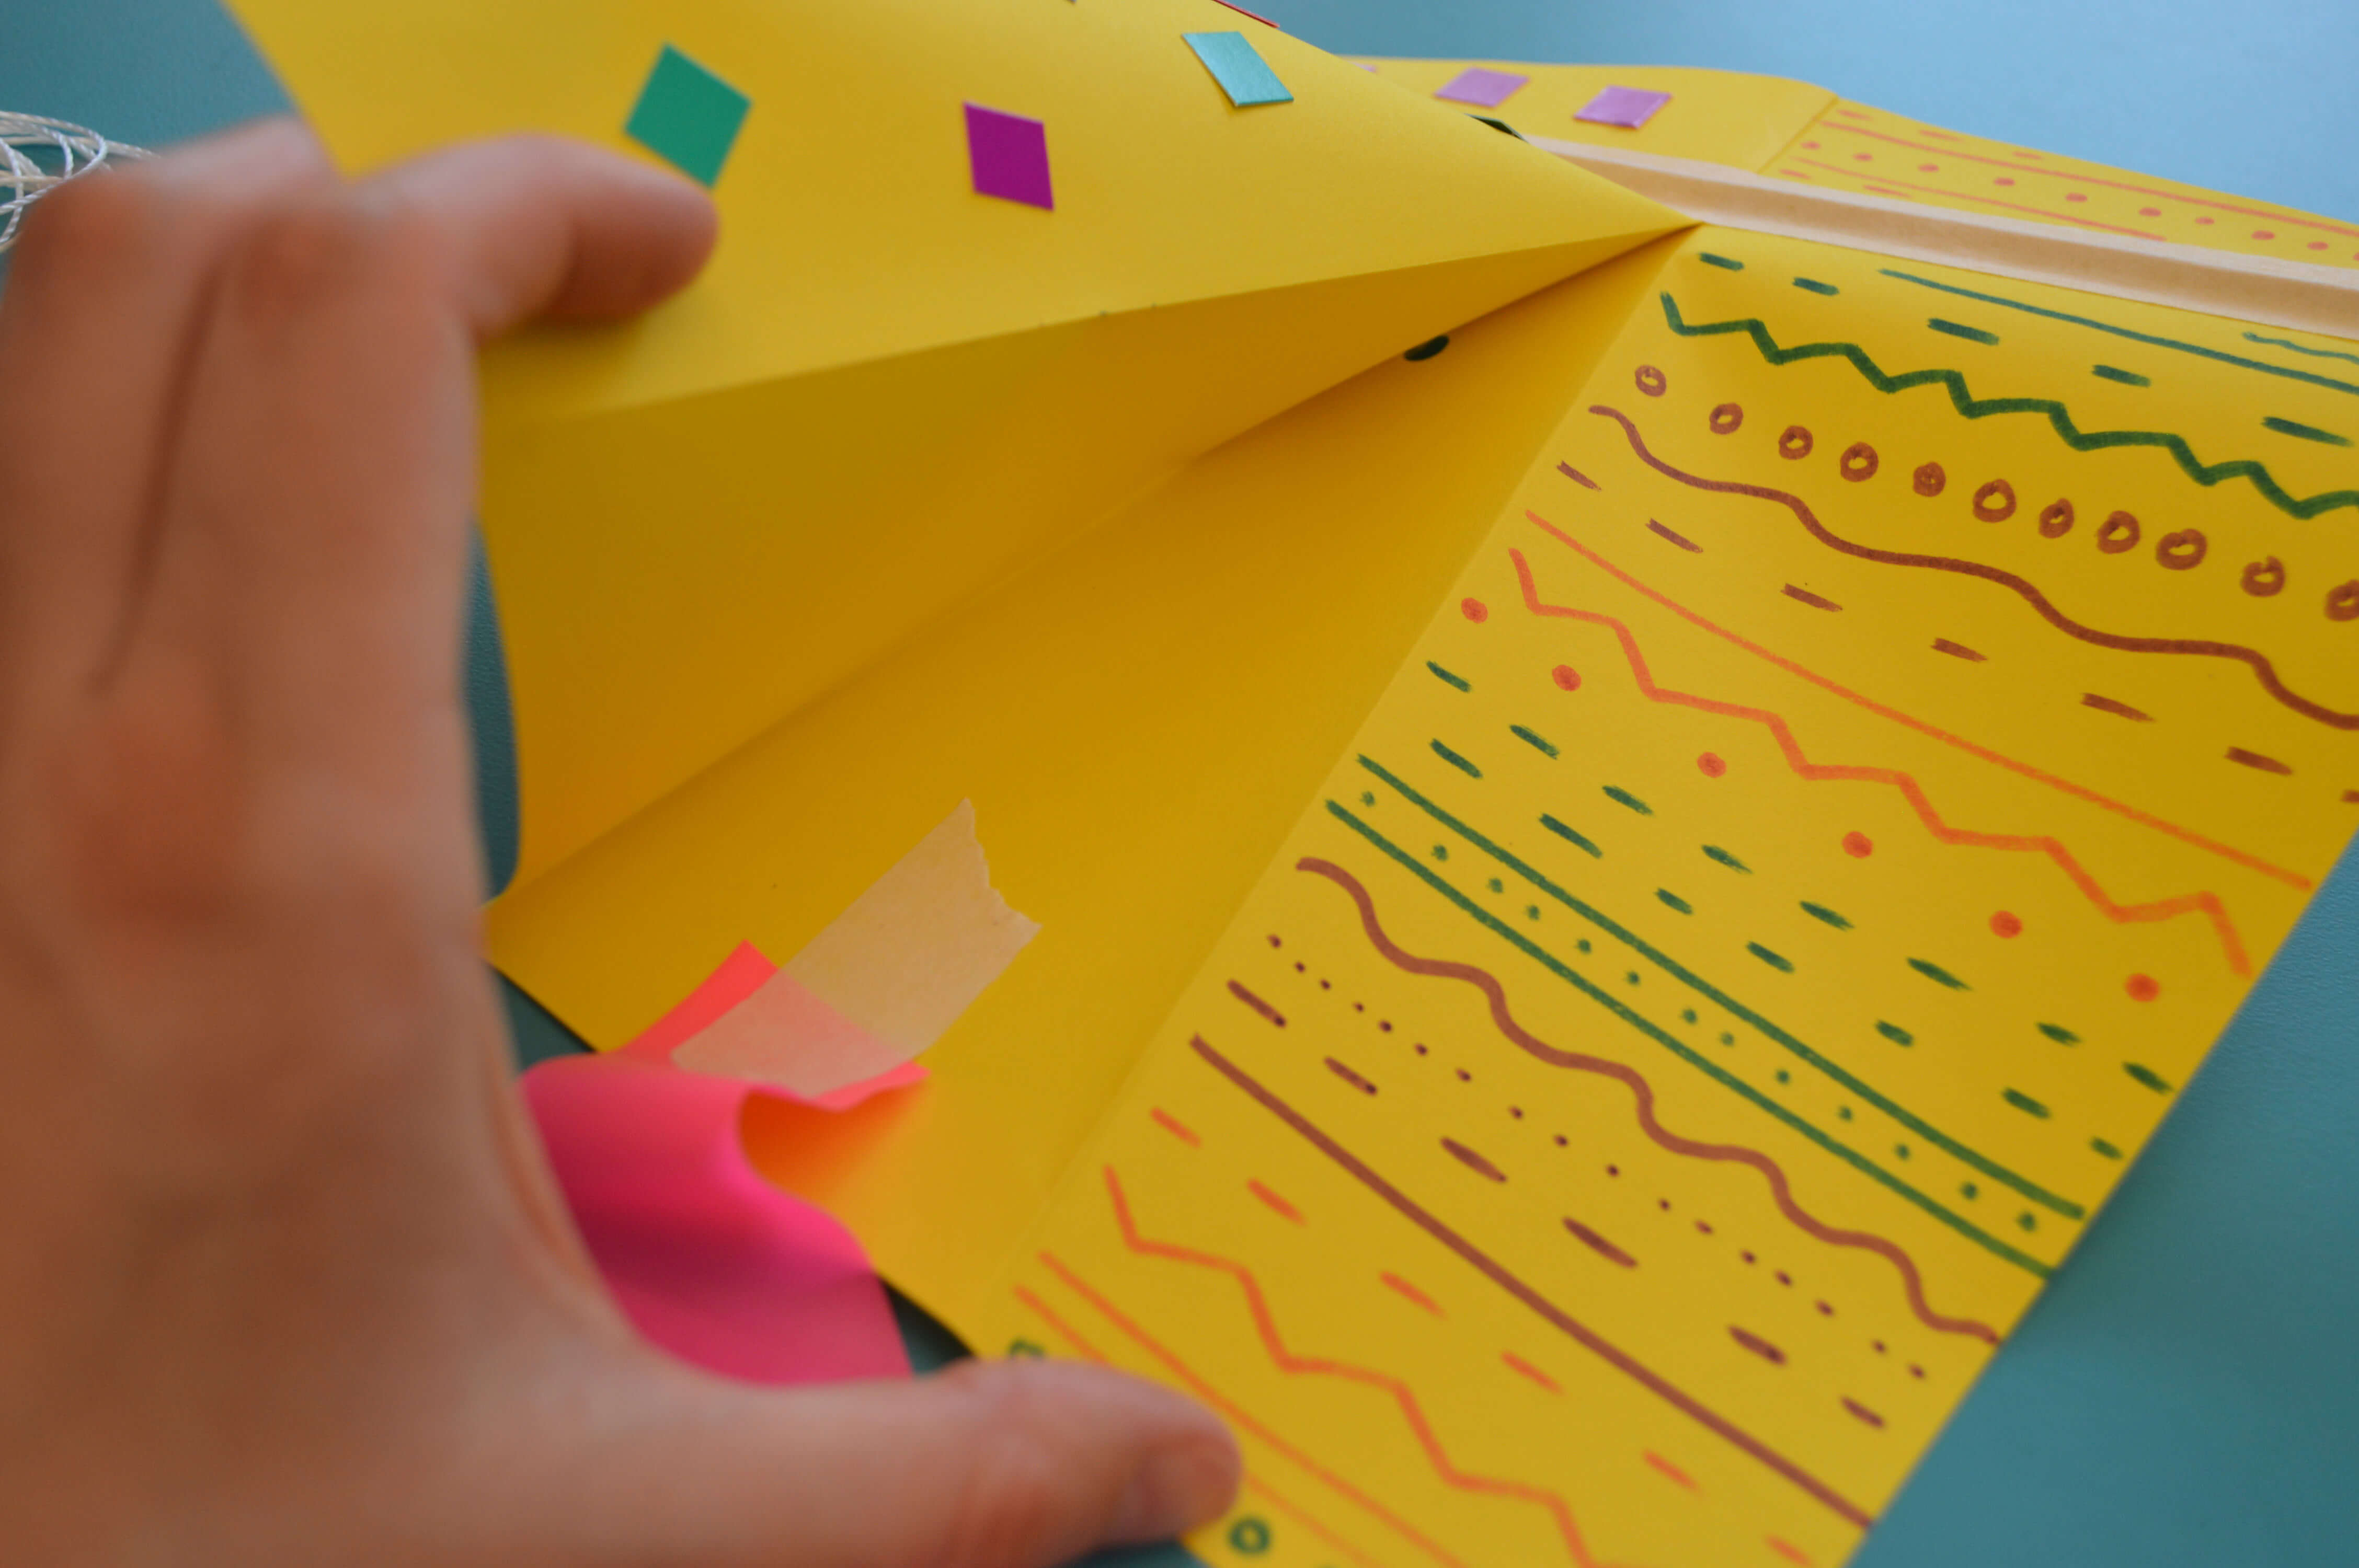
Fold your piece of paper in half. Take the folded side and fold it again on a diagonal, starting about half-an-inch from the first fold and ending about halfway across the page.
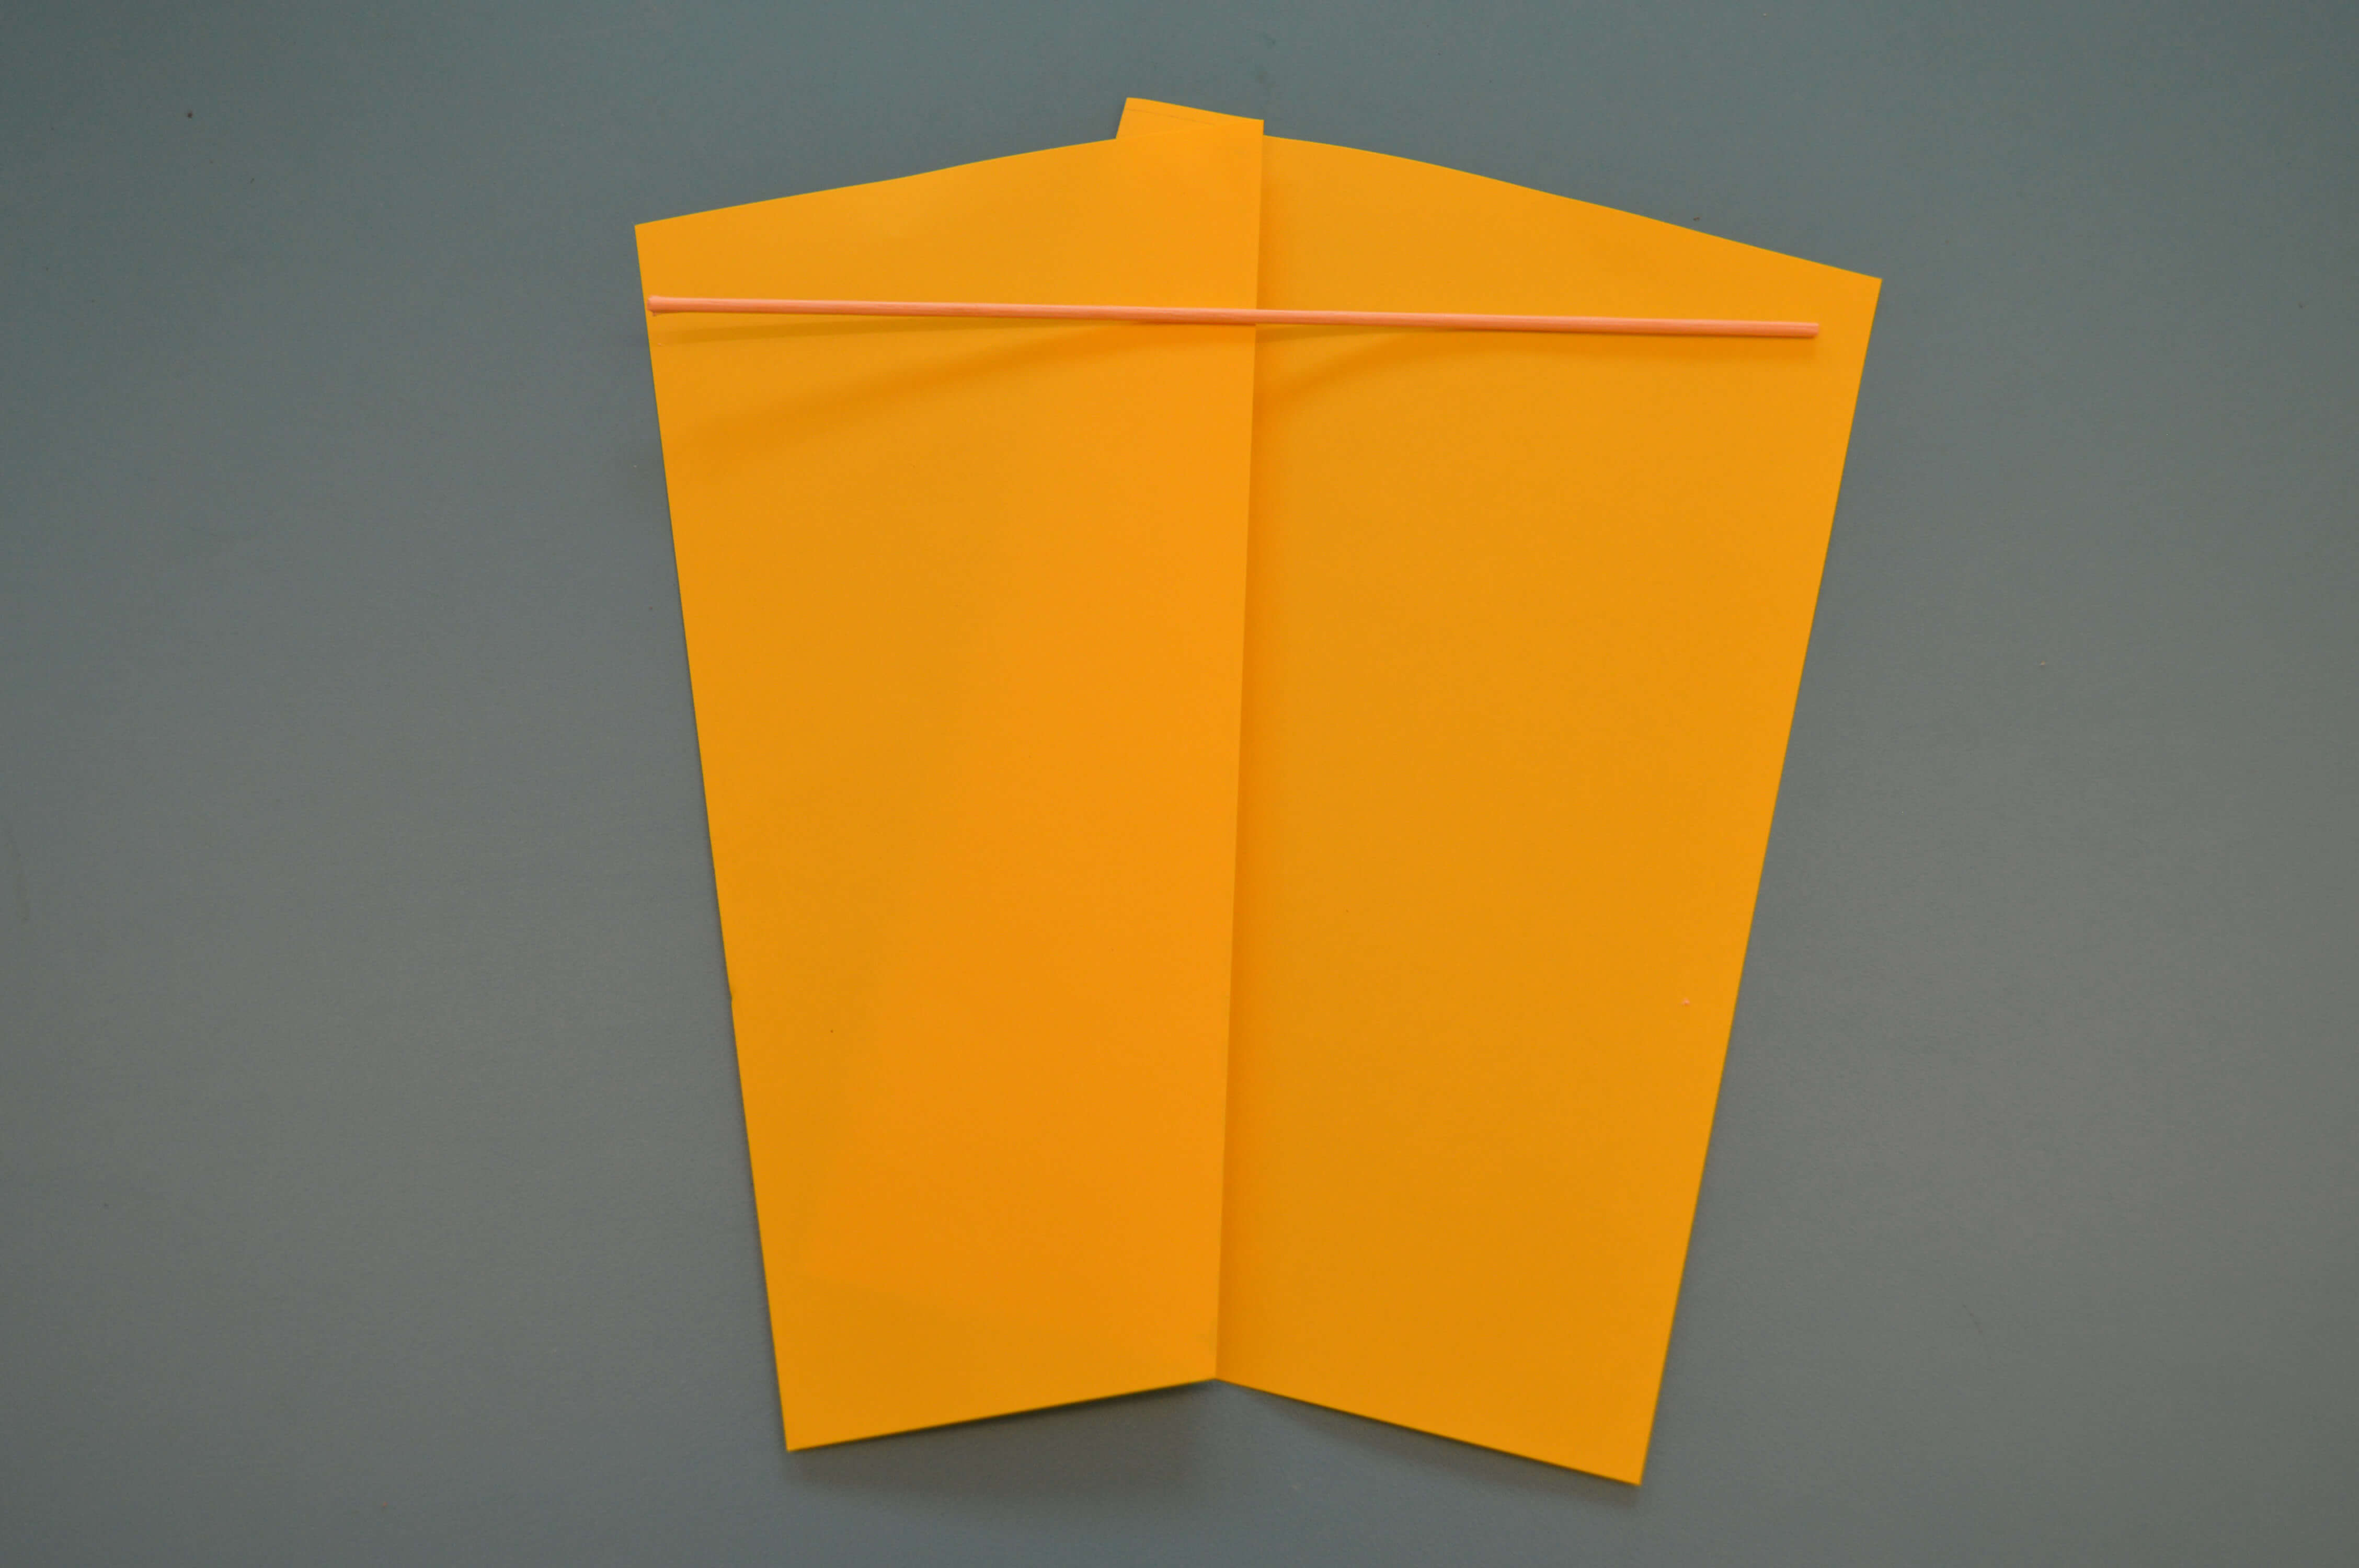
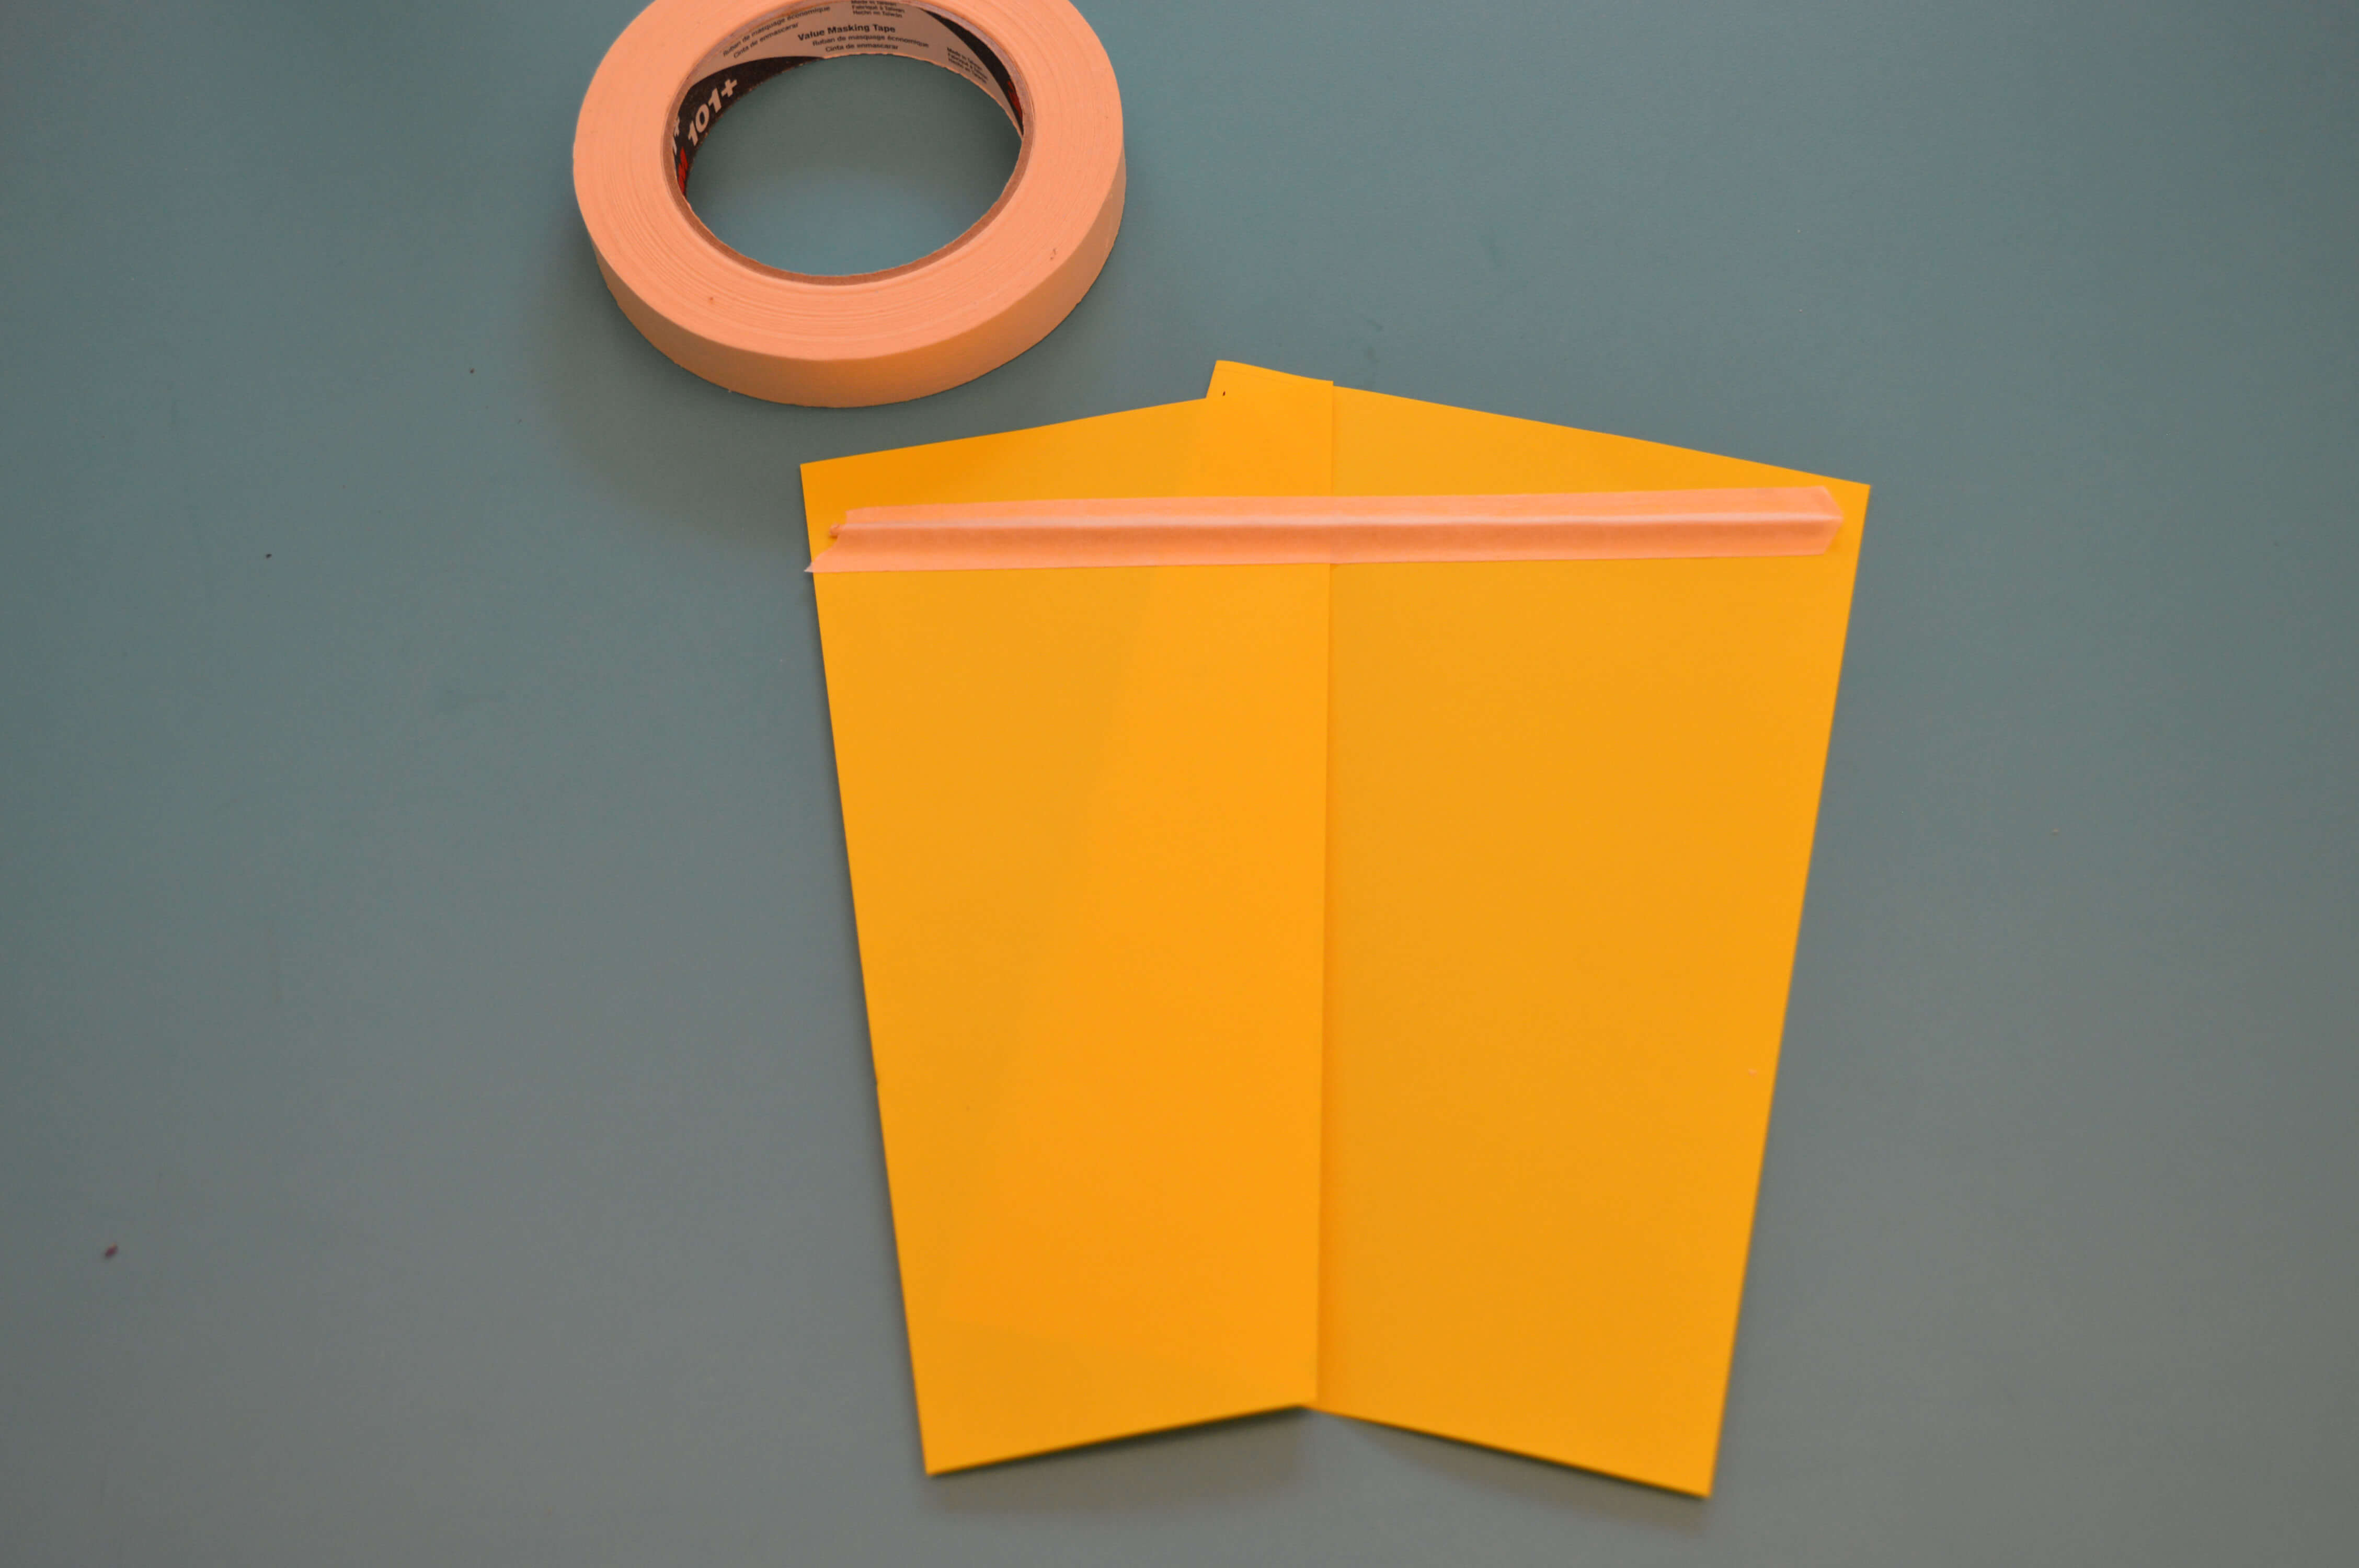
Step 2
Unfold your paper along the diagonal. At the wider-end of the paper, lay your BBQ skewer across the paper’s width from corner to corner. Tape down the skewer so it stays in place.
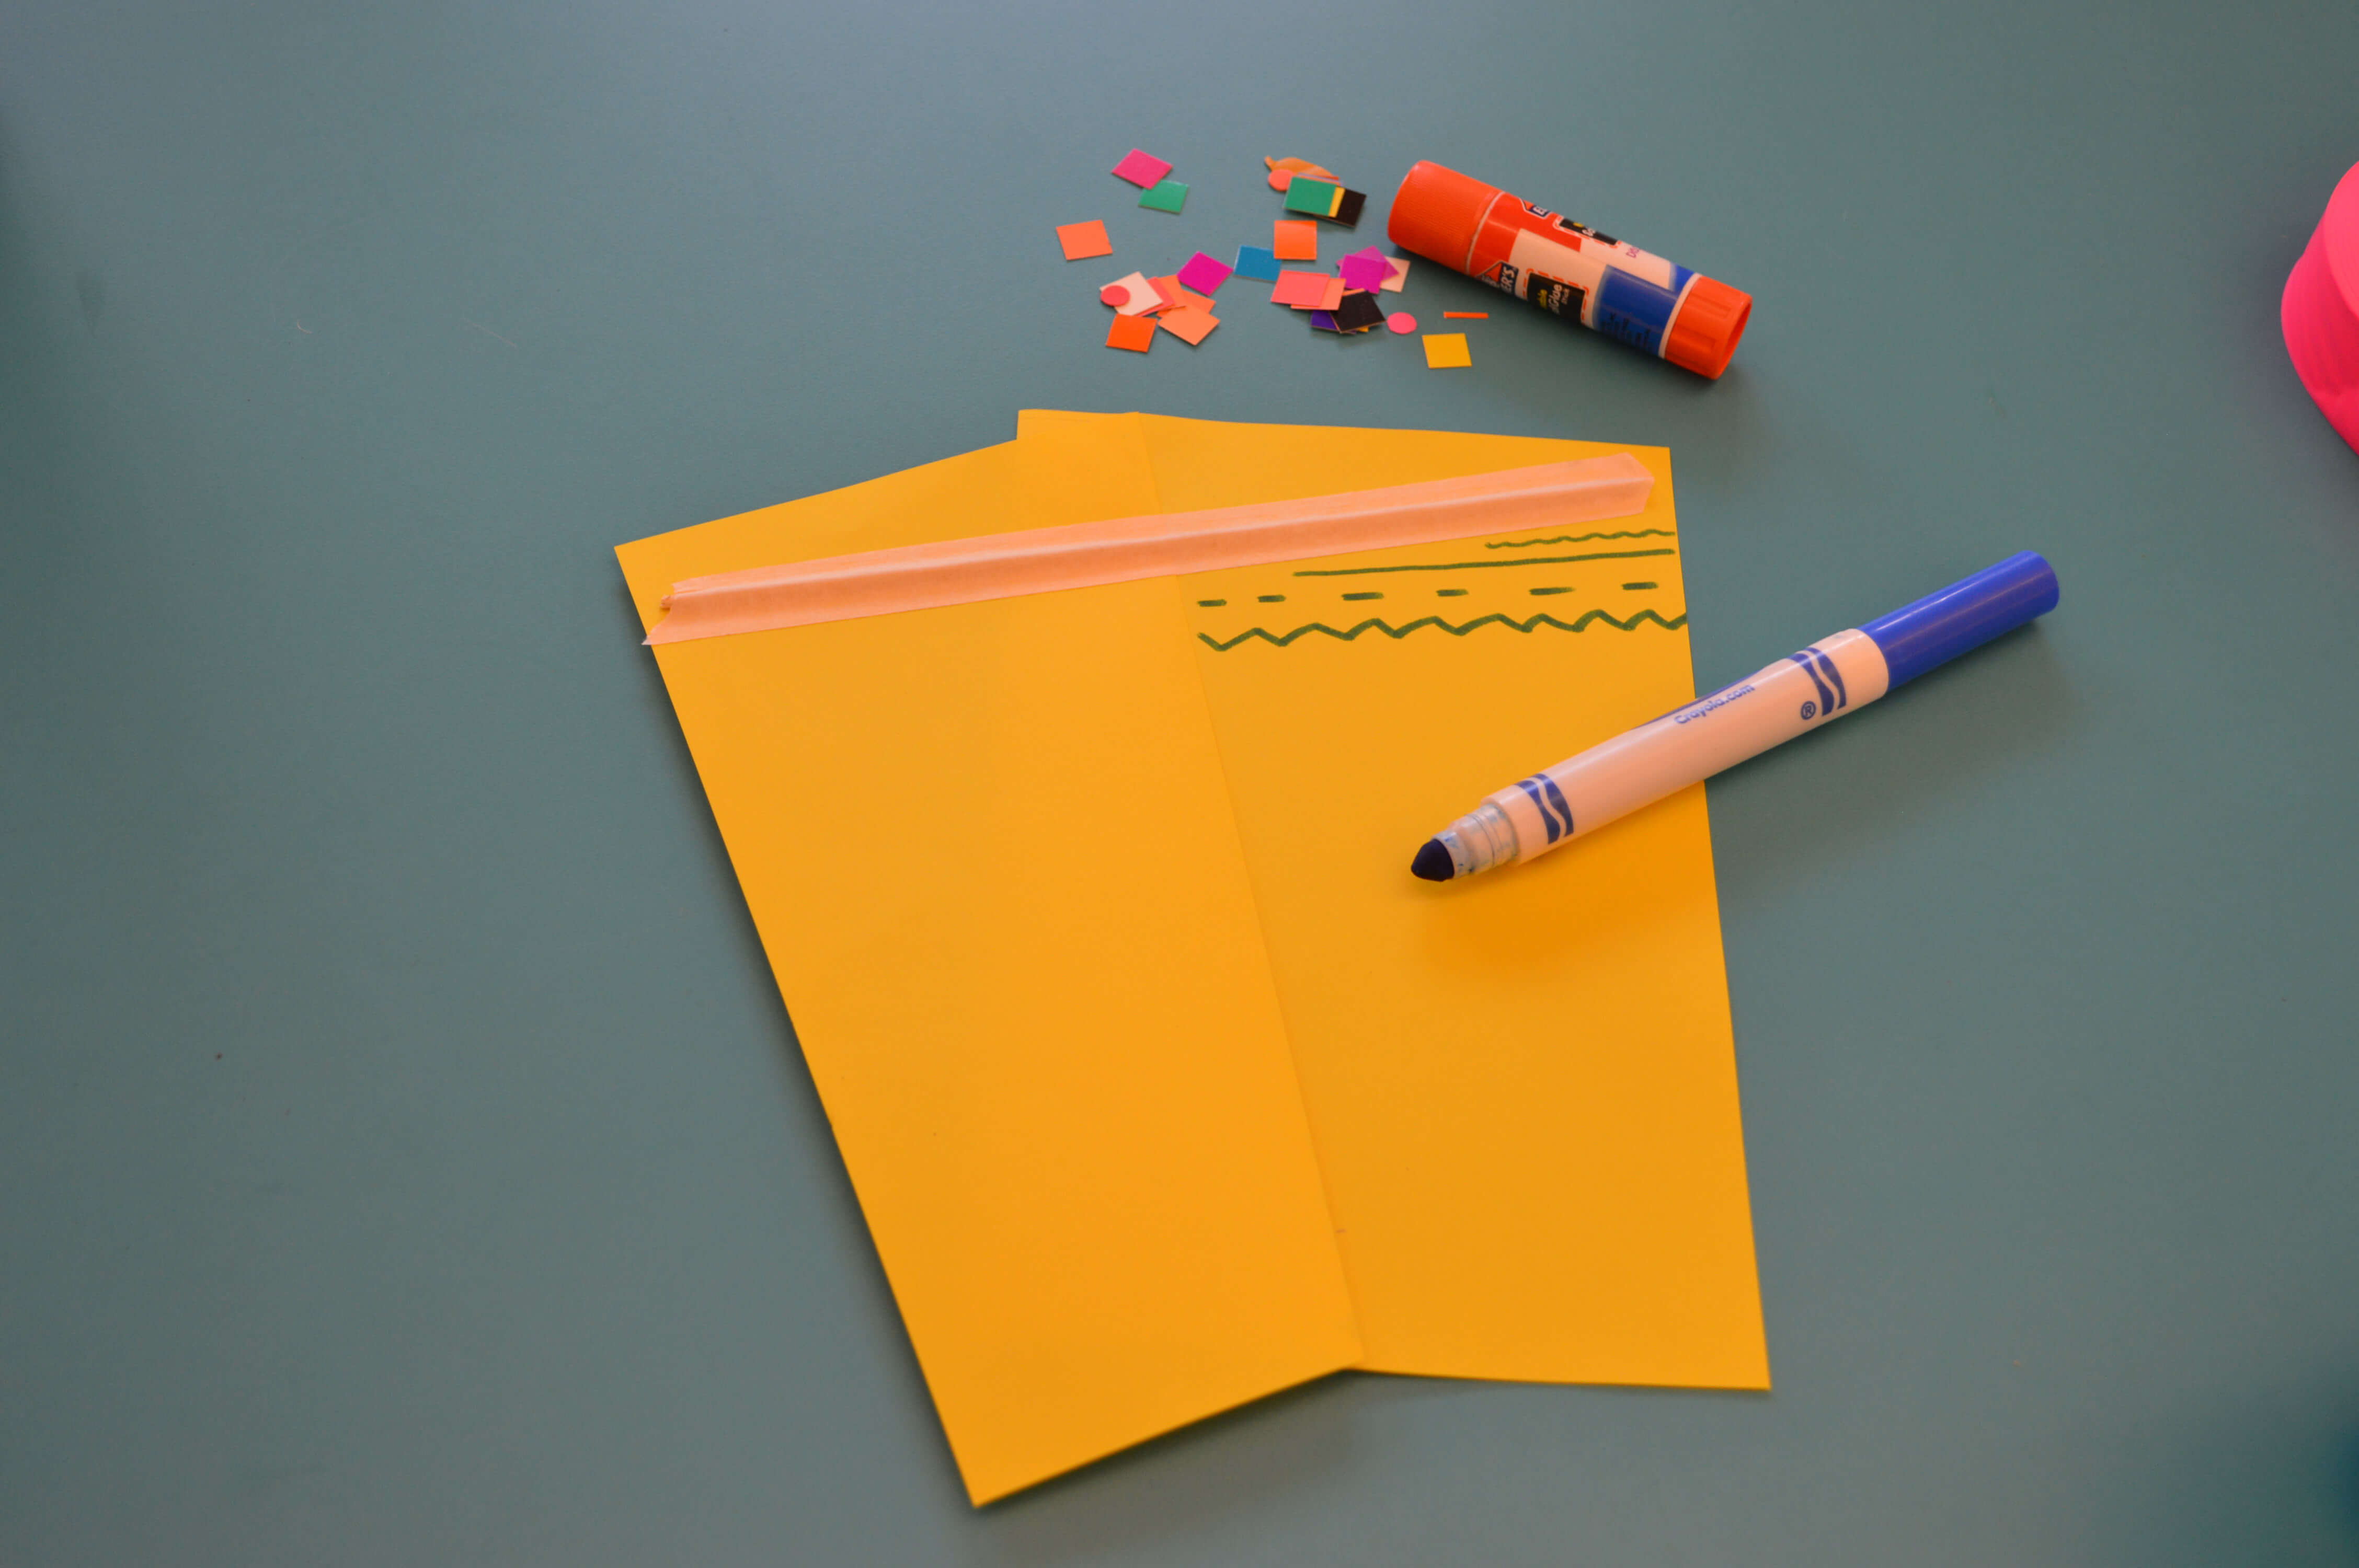
Step 3
Now is your chance to get creative! Decorate your kite any way you want. You can use markers or glue on fun shapes. Be careful not to glue on anything too heavy. You want your kite to be able to fly!
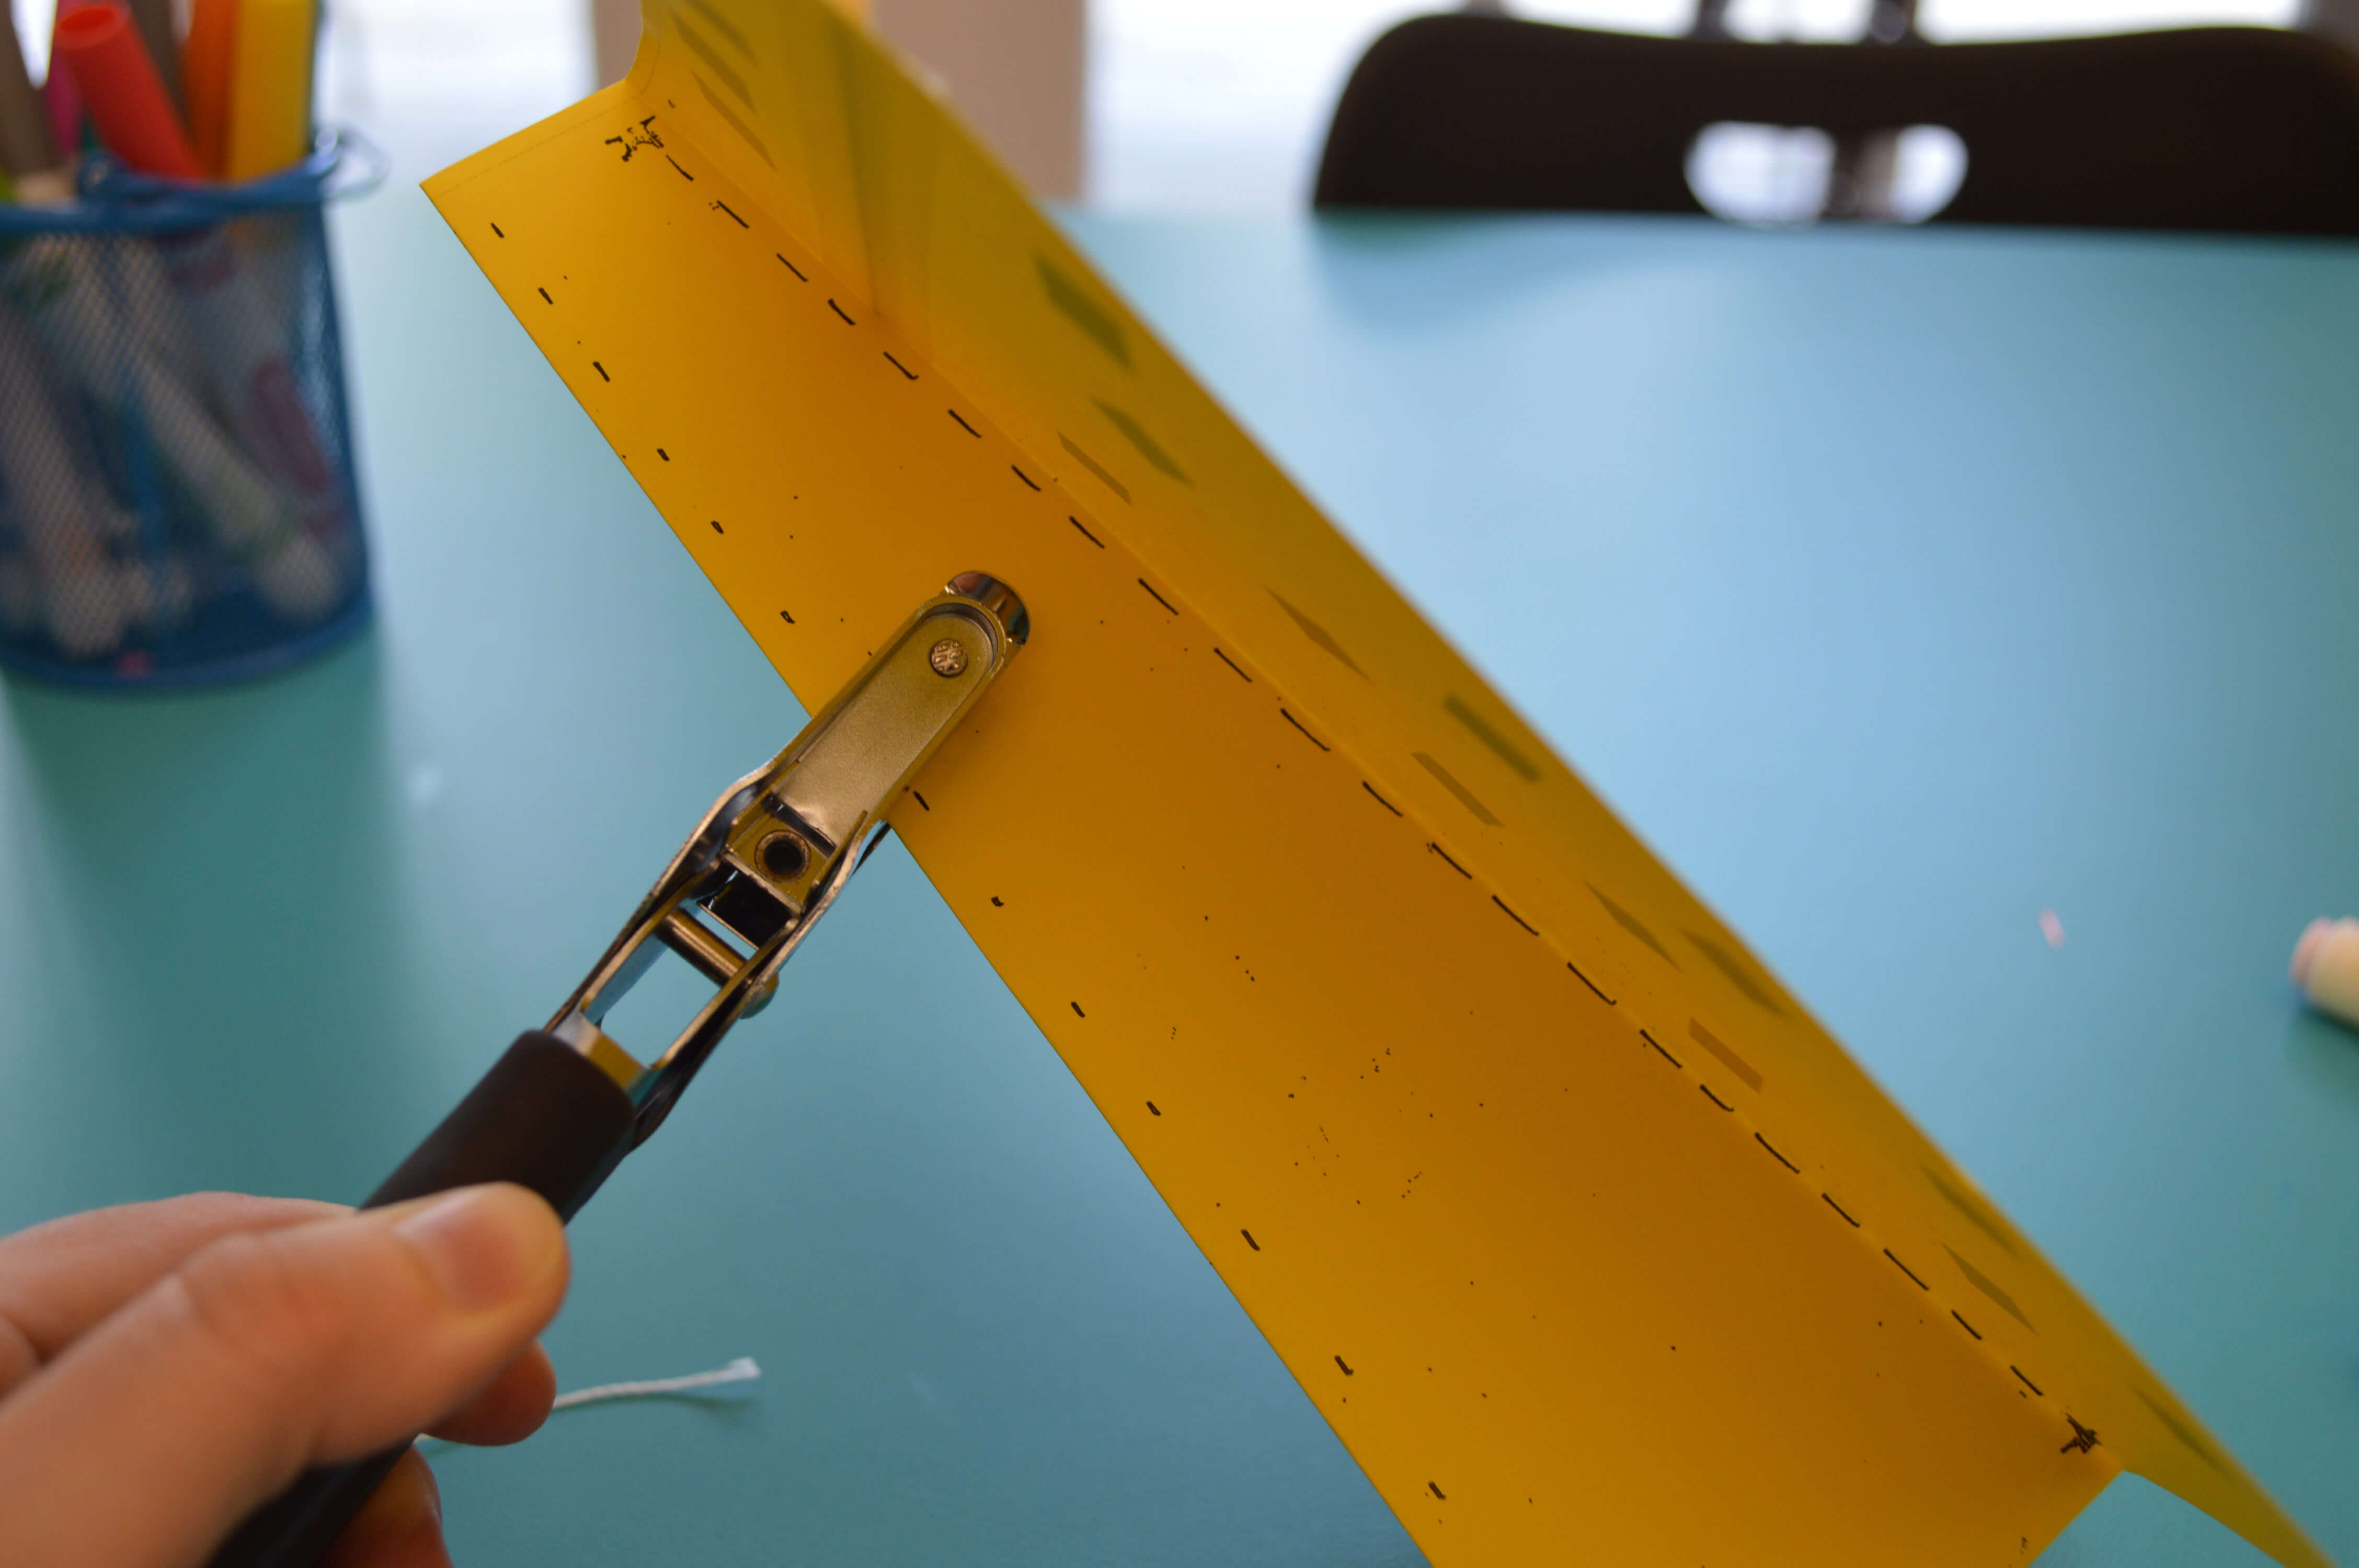
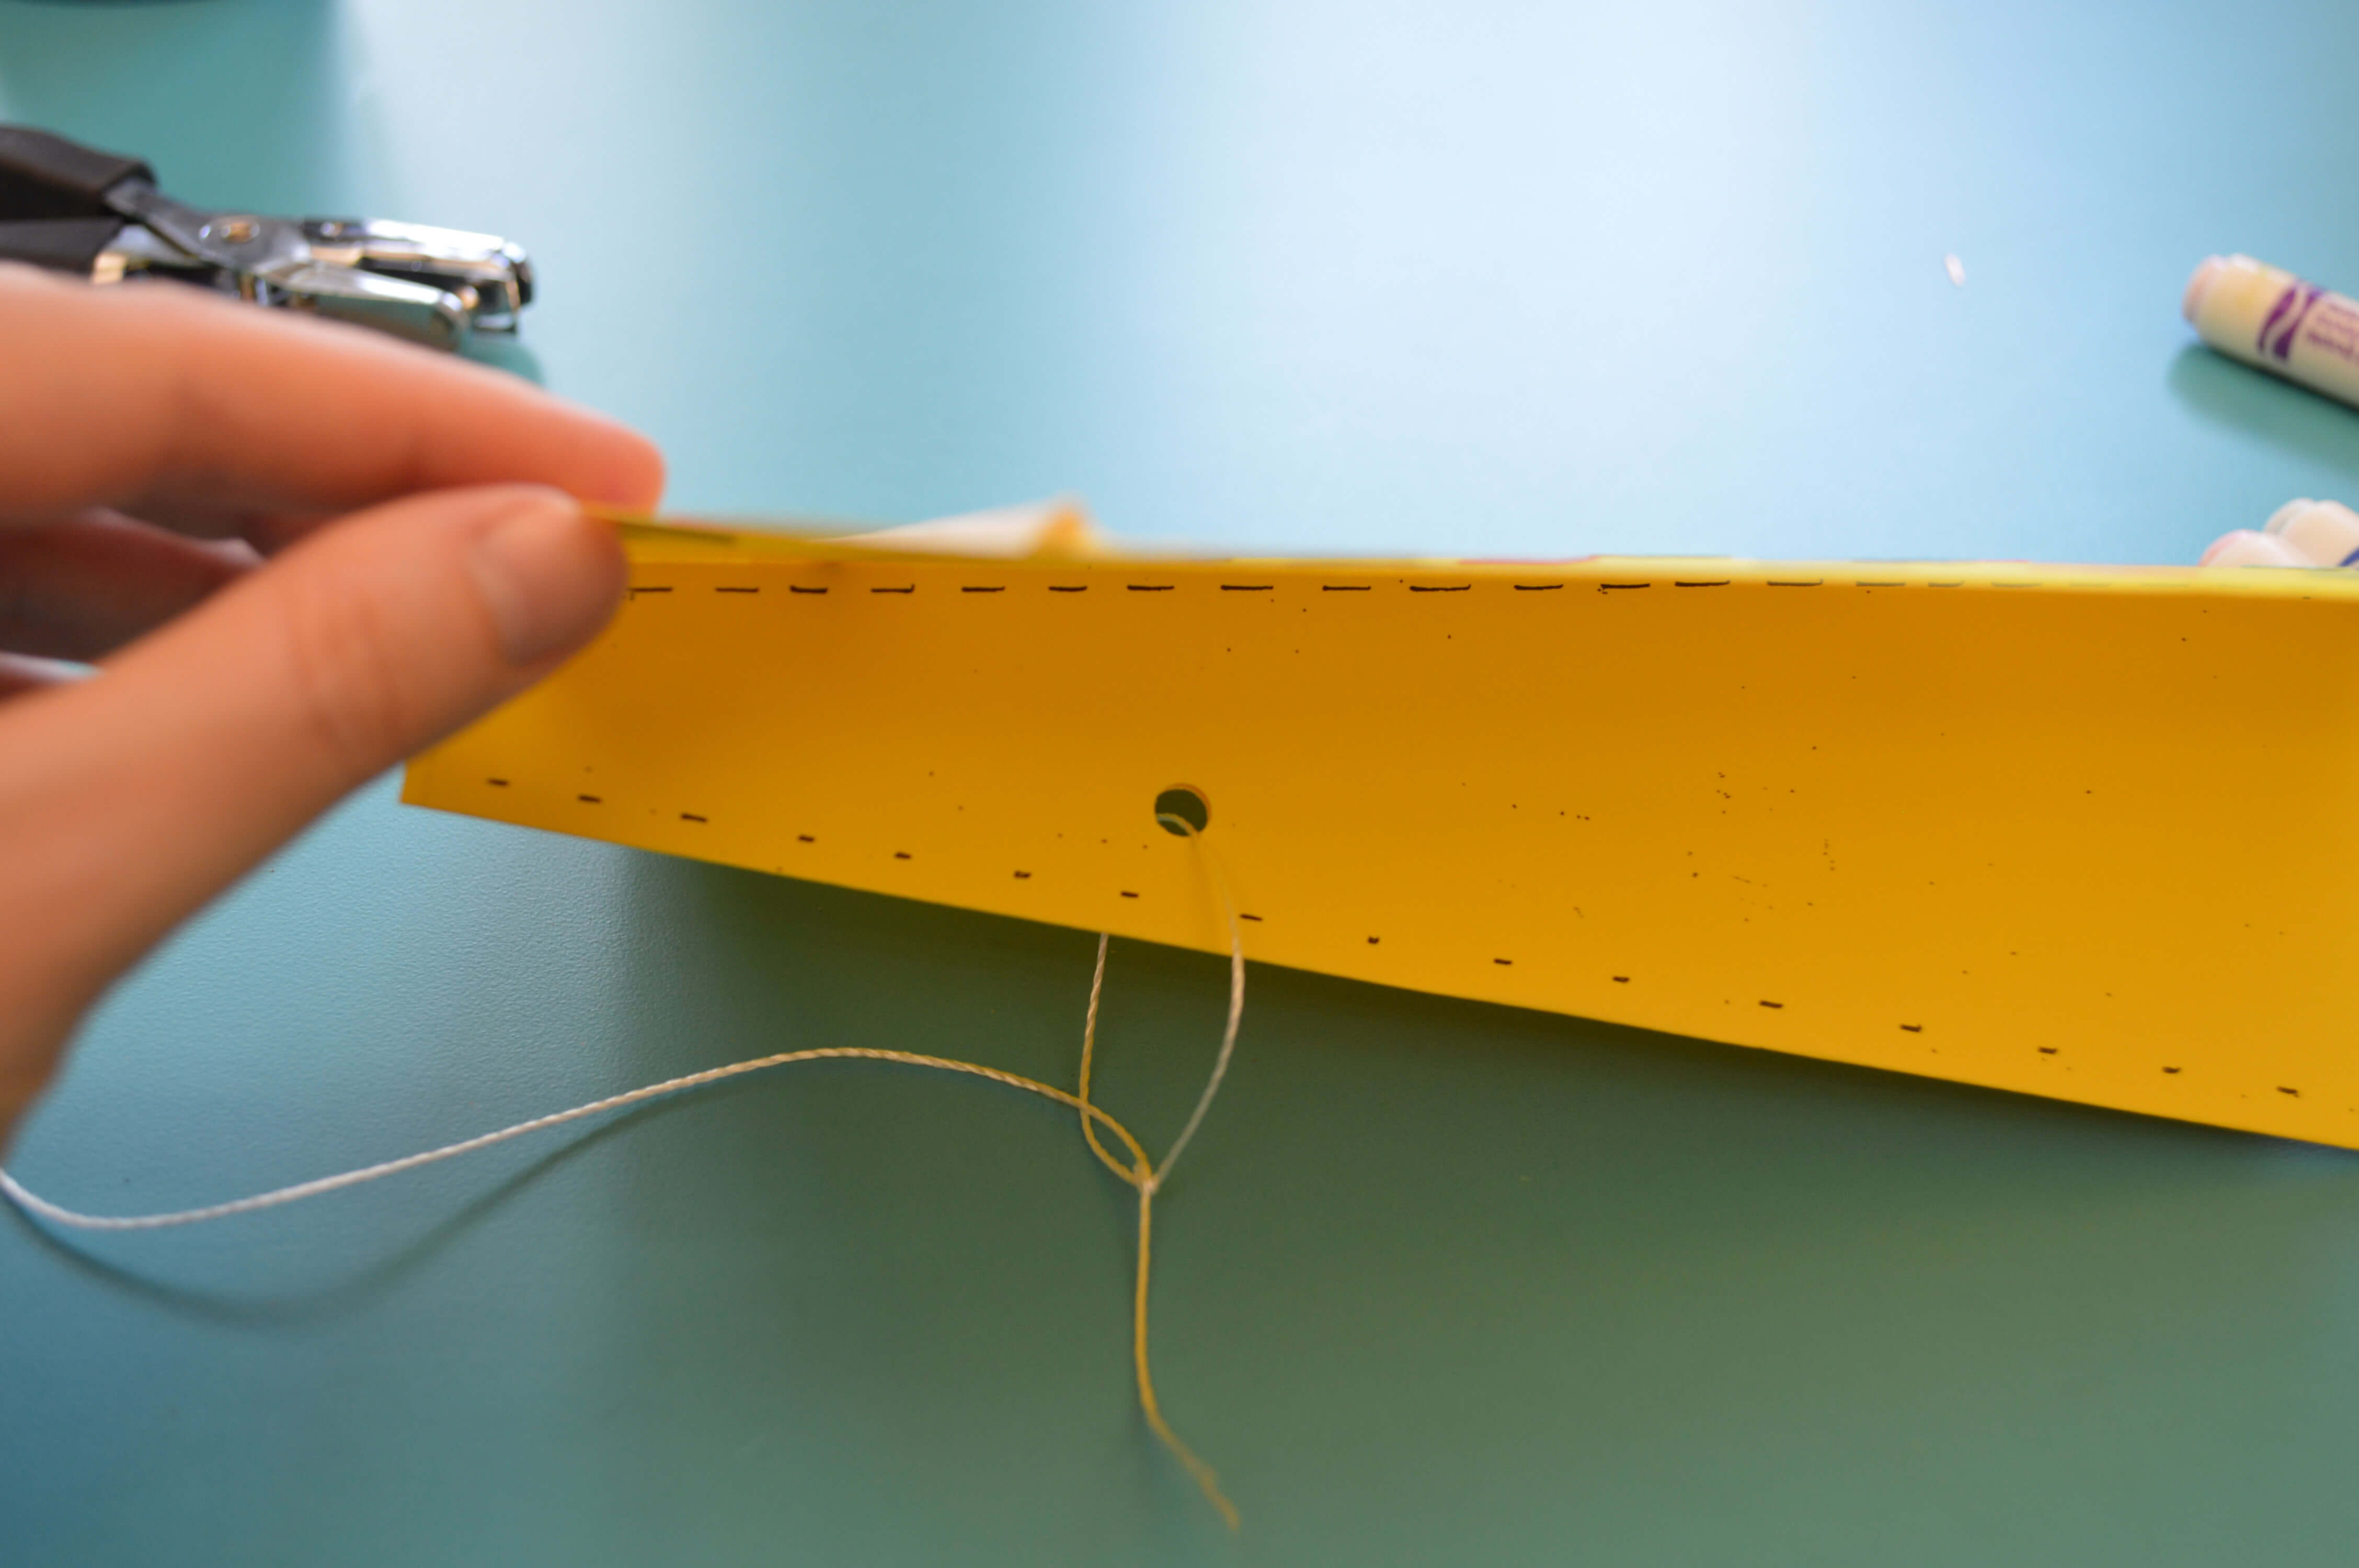
Step 4
On the underside of your kite, punch a hole along the fold about two inches from the top of the kite. Then, tie a long piece of string through the hole. The length of your string will determine how high your kite will fly. For extra security, you can tape the string in place after you tie the knot.
Step 5
Now it’s time to attach the tail. Using a piece of tape, place the end of the tail inside the folded part of your kite. If you don’t have flagging tape, you can use a streamer or colorful piece of string for a tail.
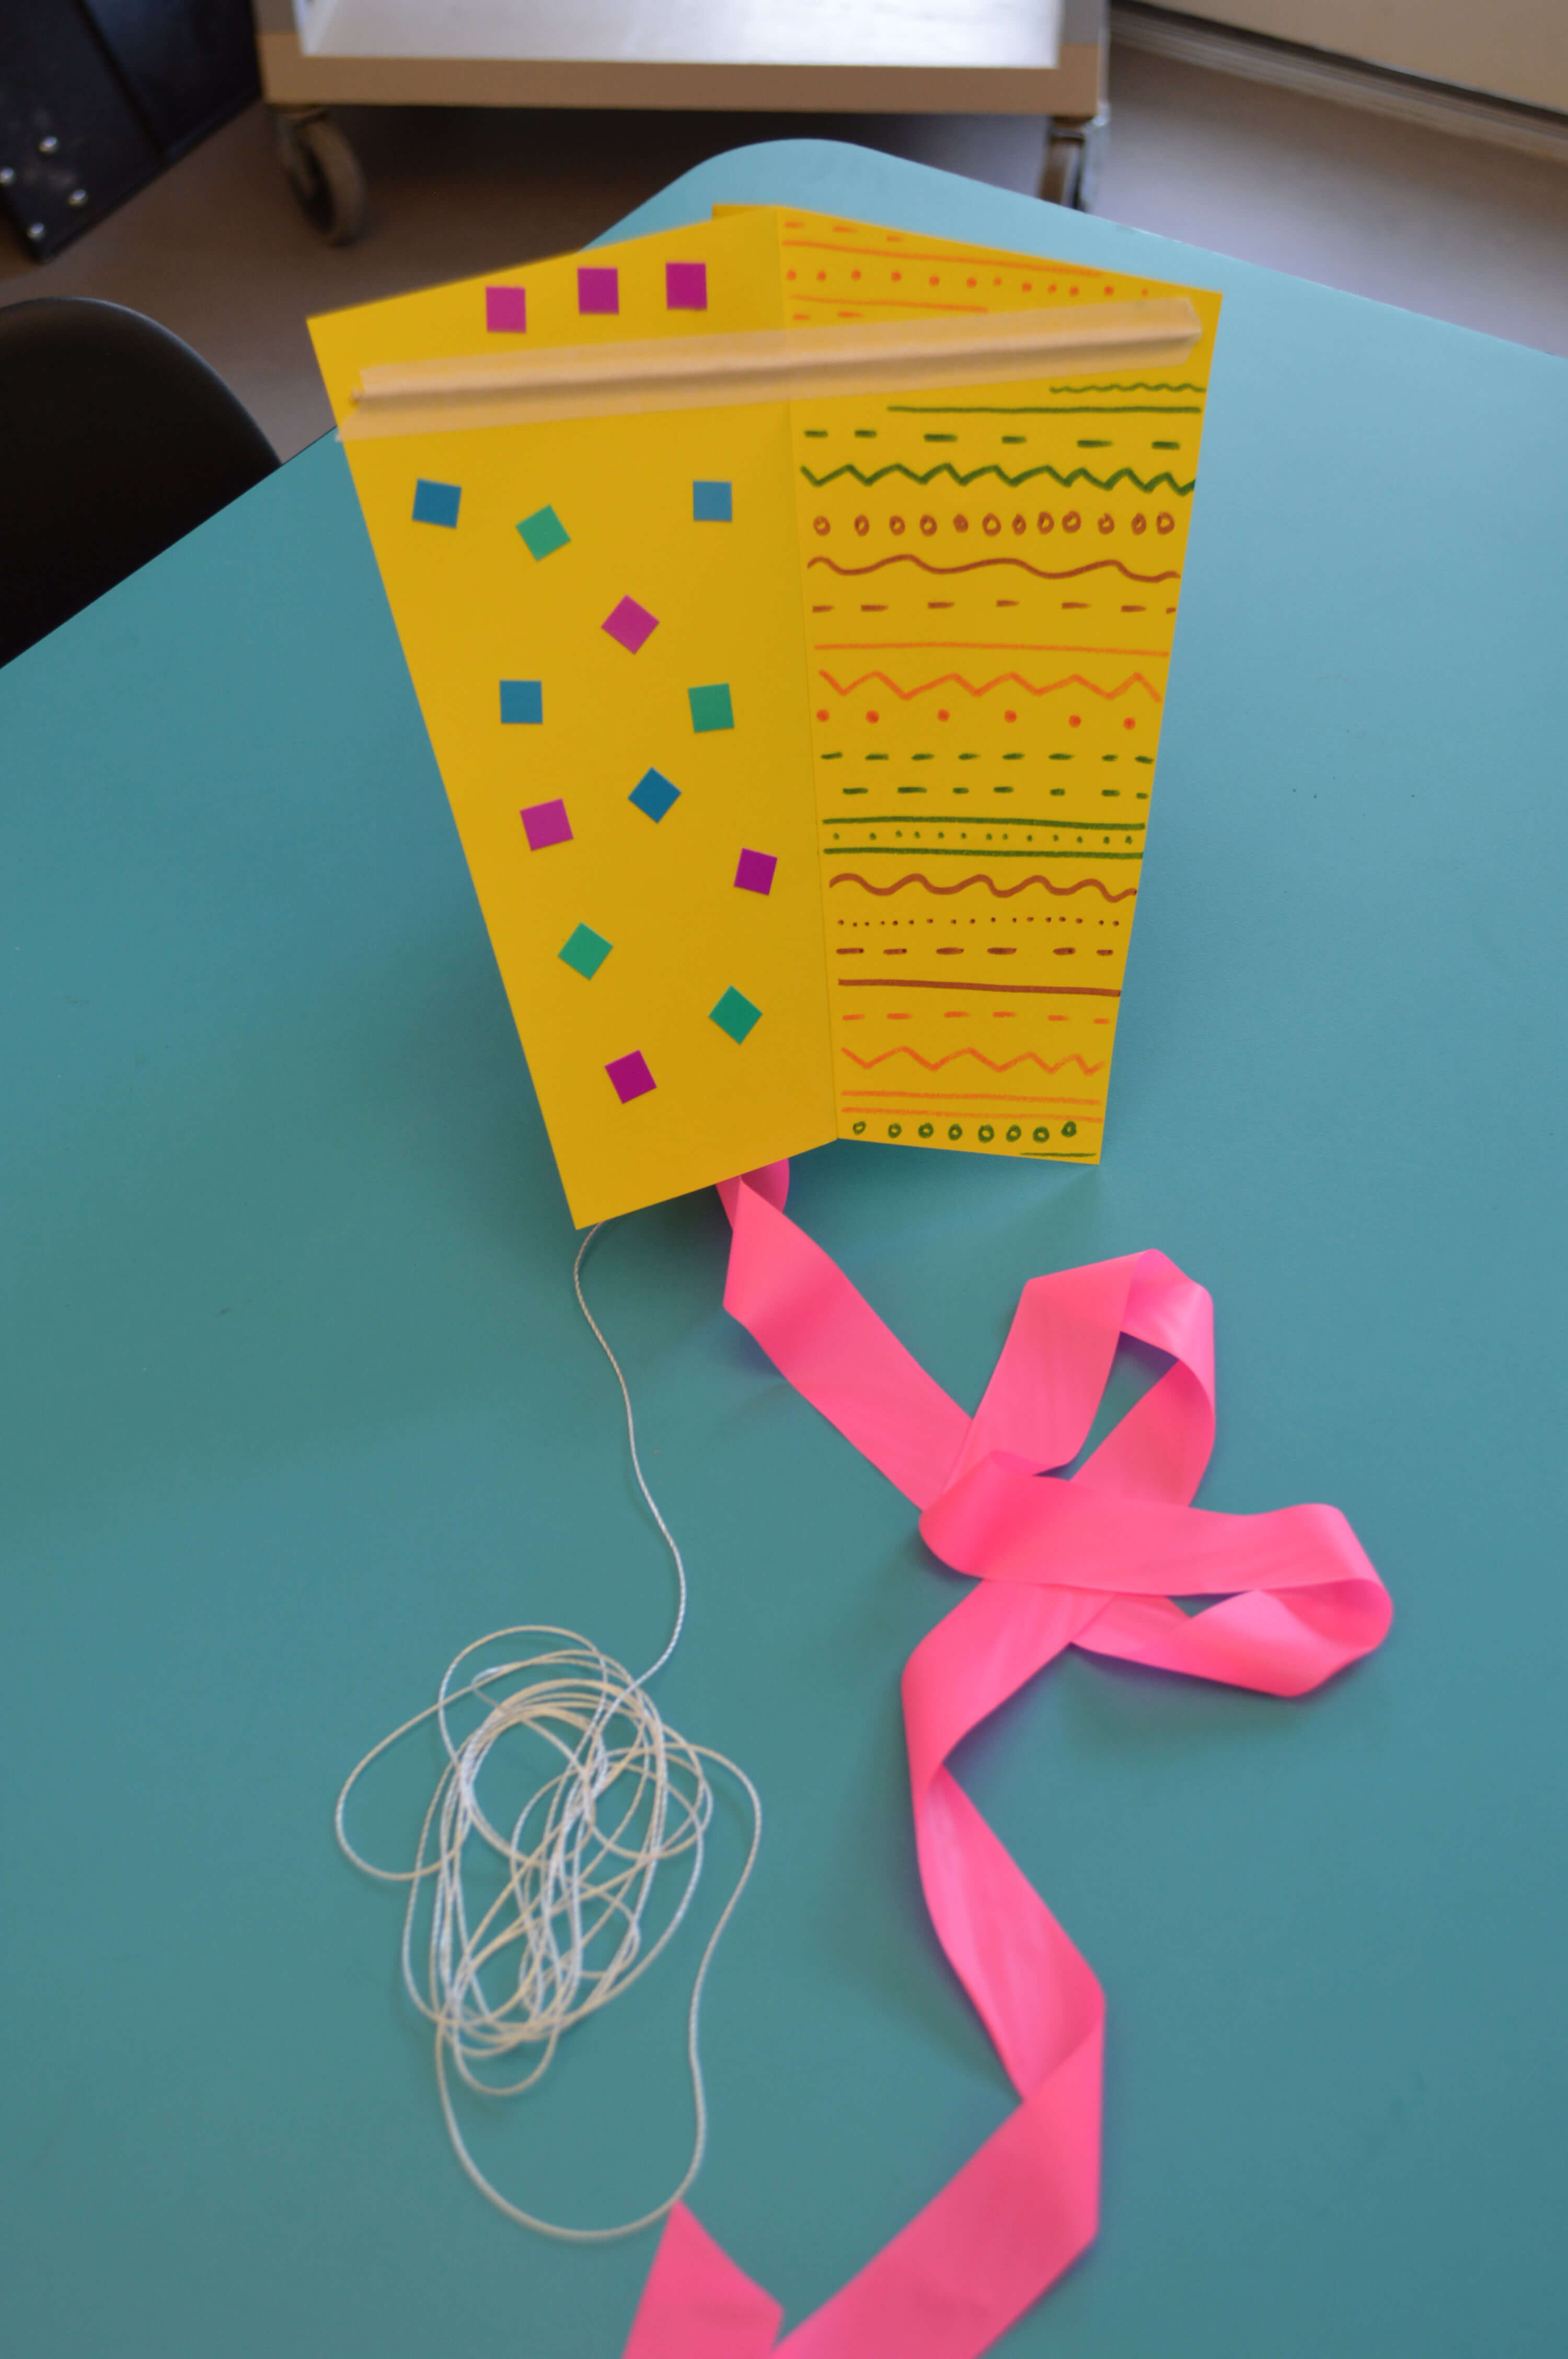
Now you are ready to go outside and fly your kite!
If you are interested in more family fun, join us for our Family Fun Day: Foxes and Horses and Hounds, Oh My! on Saturday, July 27 from 11:00 AM – 3:00 PM. All activities are free and family friendly. Enjoy free admission to The Frick Art Museum's current exhibition, A Sporting Vision: The Paul Mellon Collection of British Sporting Art from the Virginia Museum of Fine Arts, for participating families during the event.
Post photos of your kite project on Instagram and tag the Frick @frickpgh, so we can see all the fun you're having!
Below, I lead you through the kite-making process step-by-step. When it comes time to decorate your kite, be imaginative and make the project your own!
Supplies
BBQ skewer (cut down to 8 inches)
Glue stick
Hole punch
Flagging tape or streamer (for tail)
Markers/decorating materials
Paper
Scissors
String
Tape
Step 1
Fold your piece of paper in half. Take the folded side and fold it again on a diagonal, starting about half-an-inch from the first fold and ending about halfway across the page.
Step 2
Unfold your paper along the diagonal. At the wider-end of the paper, lay your BBQ skewer across the paper’s width from corner to corner. Tape down the skewer so it stays in place.
Step 3
Now is your chance to get creative! Decorate your kite any way you want. You can use markers or glue on fun shapes. Be careful not to glue on anything too heavy. You want your kite to be able to fly!
Step 4
On the underside of your kite, punch a hole along the fold about two inches from the top of the kite. Then, tie a long piece of string through the hole. The length of your string will determine how high your kite will fly. For extra security, you can tape the string in place after you tie the knot.
Step 5
Now it’s time to attach the tail. Using a piece of tape, place the end of the tail inside the folded part of your kite. If you don’t have flagging tape, you can use a streamer or colorful piece of string for a tail.
Now you are ready to go outside and fly your kite!
If you are interested in more family fun, join us for our Family Fun Day: Foxes and Horses and Hounds, Oh My! on Saturday, July 27 from 11:00 AM – 3:00 PM. All activities are free and family friendly. Enjoy free admission to The Frick Art Museum's current exhibition, A Sporting Vision: The Paul Mellon Collection of British Sporting Art from the Virginia Museum of Fine Arts, for participating families during the event.
Post photos of your kite project on Instagram and tag the Frick @frickpgh, so we can see all the fun you're having!