

Make Art Together: Picasso Portraits
Pablo Picasso was a Spanish artist. He is often best known for his Cubist style artwork. This project draws inspiration from this period in Picasso’s artmaking career. We encourage you and your little ones to color outside the lines and allow your creativity to shine while creating this project. Picasso was an artist from an early age, and we hope this activity will help to inspire your budding artists.
This project is all about portraits. What’s a portrait? It’s a picture of a person. These portraits might not look exactly like you and me, but they are the perfect opportunity to talk about shapes, line, and color with your child.
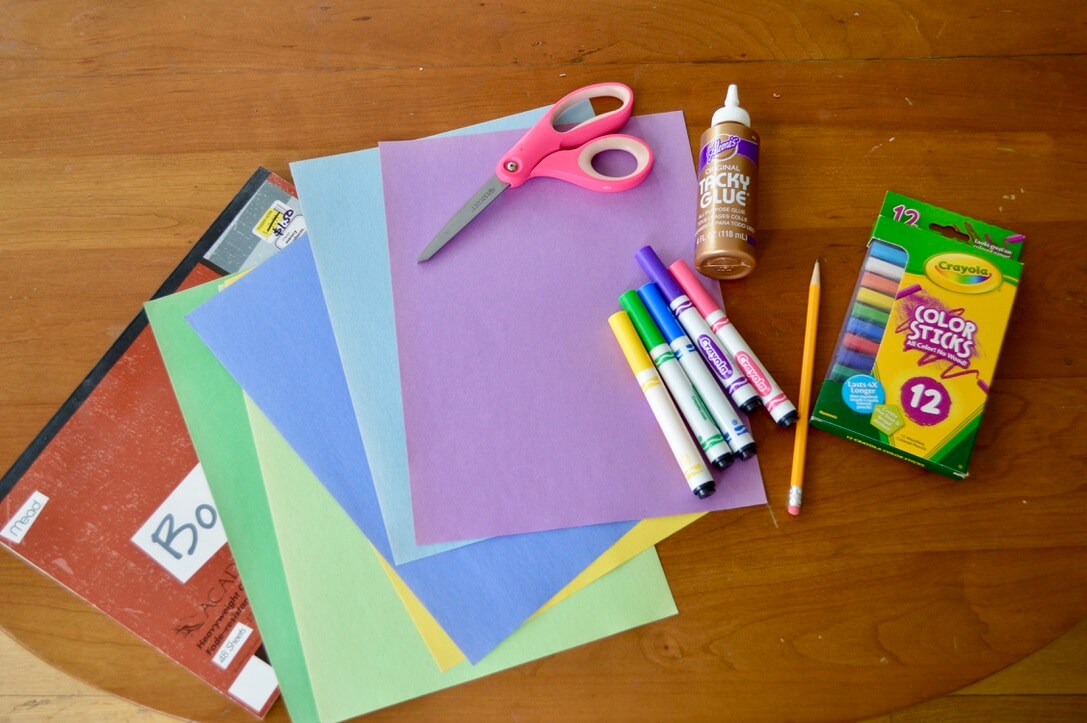
Supplies
Colorful paper
Pencil
Scissors
Glue
Markers
Pro tip: Most of us only have the supplies that we have at home, so there is plenty of flexibility with this project. If you don’t have colorful paper, use magazines or newspaper. A glue stick will work best for this project, but whatever glue (or tape) you have will work great as well. If you use liquid glue, I suggest using a cotton swab to spread it on your paper so it doesn’t get too thick. Markers, color sticks, colored pencils, or crayons are all great coloring utensils. Use what you have!
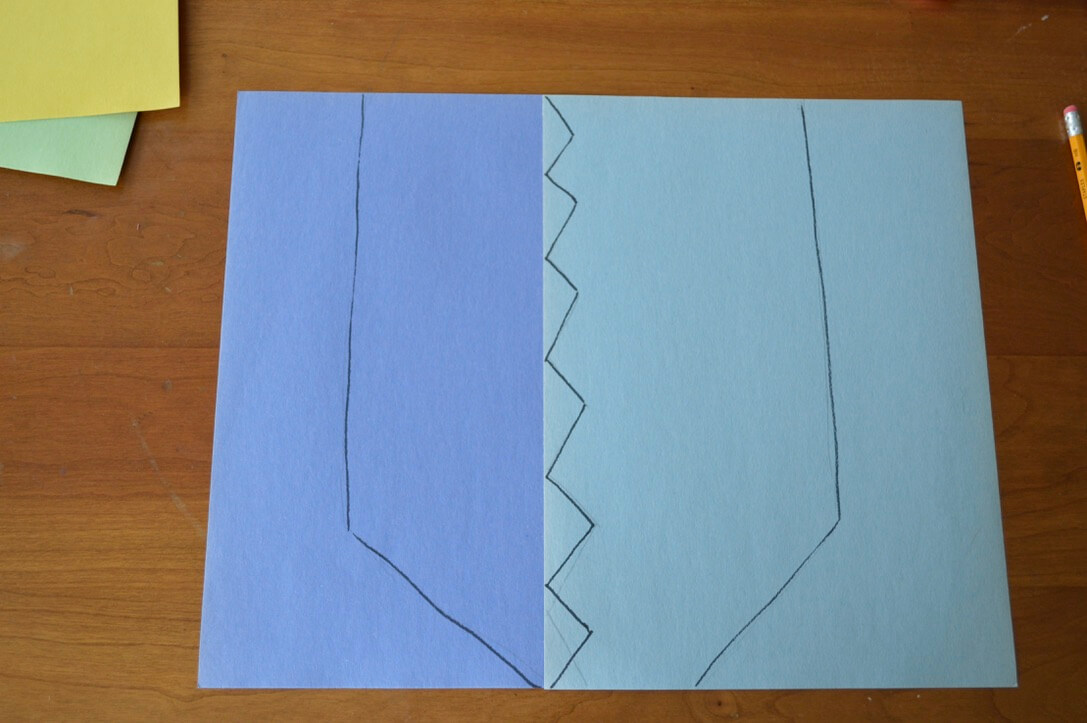
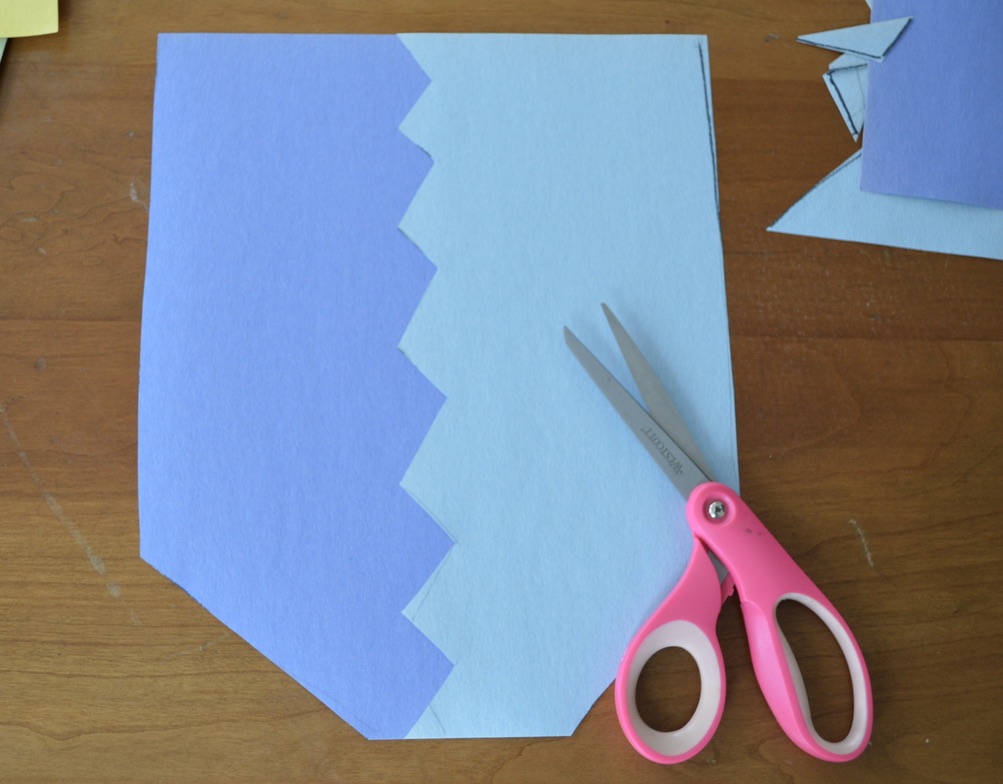
Step 1
Let’s start with the face! Draw the shape of the head then cut it out. If you use multiple pieces, glue or tape them together after cutting out. You can pick any shape for the head. Keep it simple and make it an oval or get creative. You can even make it two different colors.
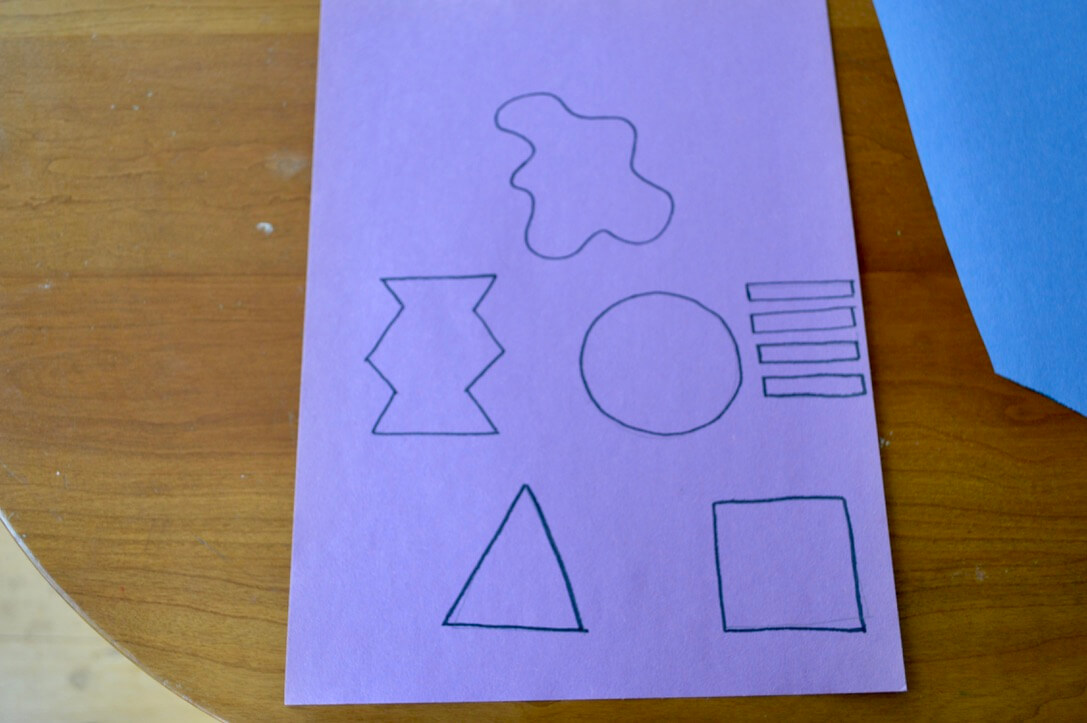
Step 2
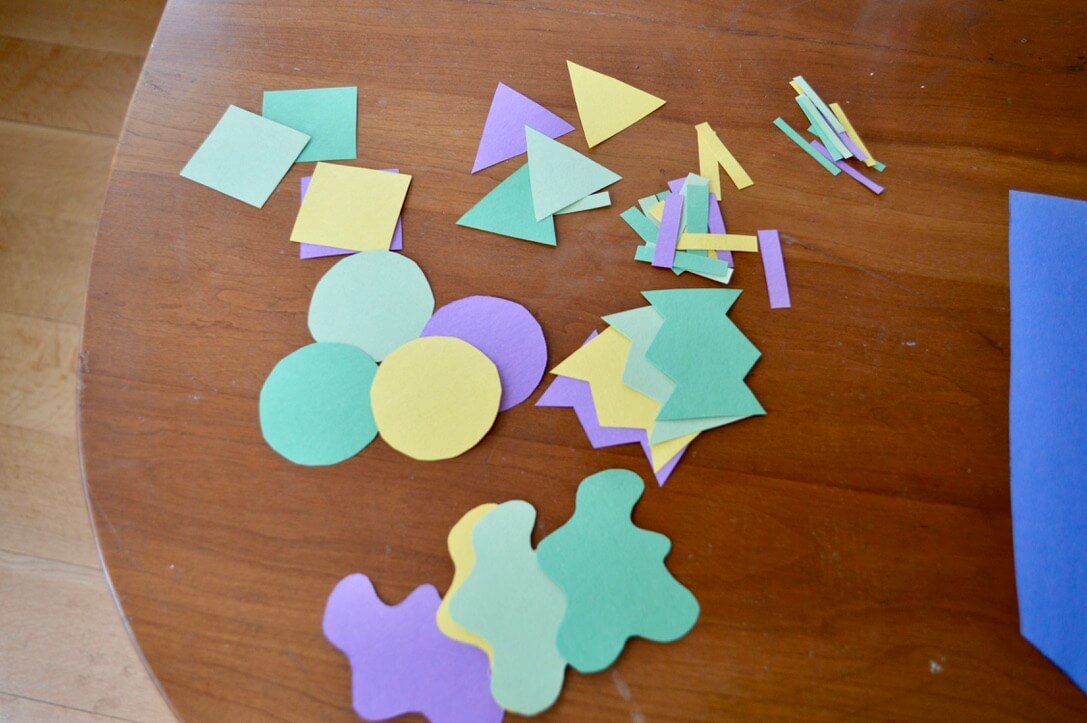
Trace and cut out different shapes. This is a great chance to review different shapes with your child. Have them name shapes and you can draw them or vice versa. To save time with cutting, you can layer multiple pieces of paper and cut all at once. This is also a good time for your child to practice his or her scissor skills!
Step 3
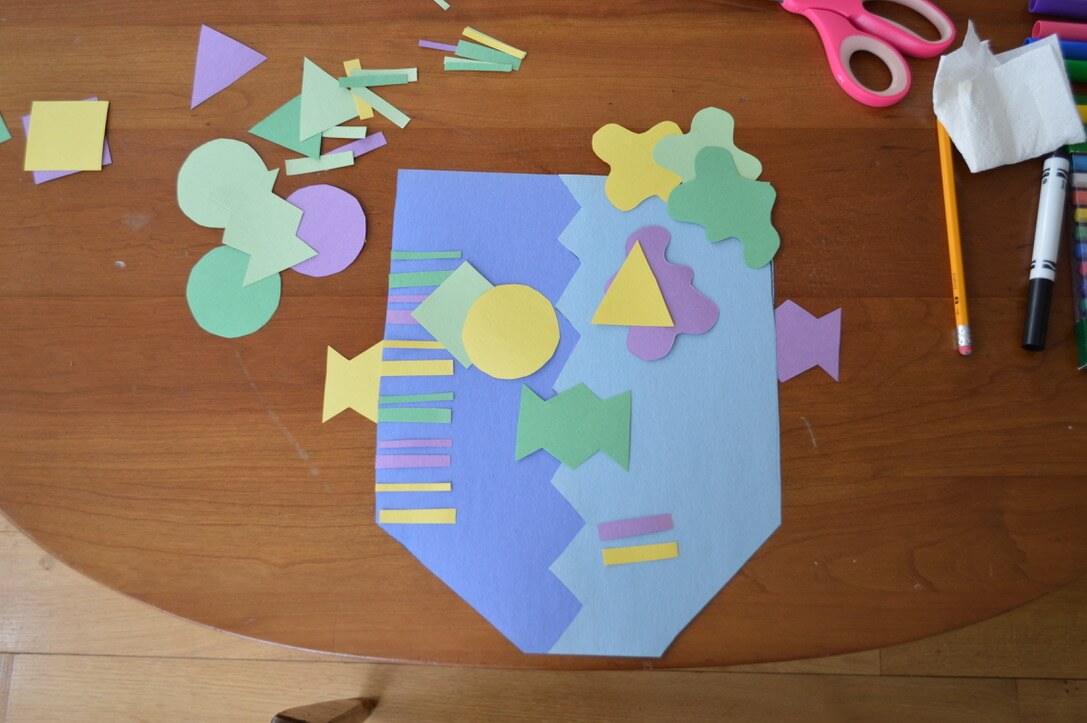
Start by laying out the different shapes to help form the face. Have your child name the different parts of the face to make sure you include them all. By laying them out ahead of time, you can move things around until it looks how your child wants.
Step 4
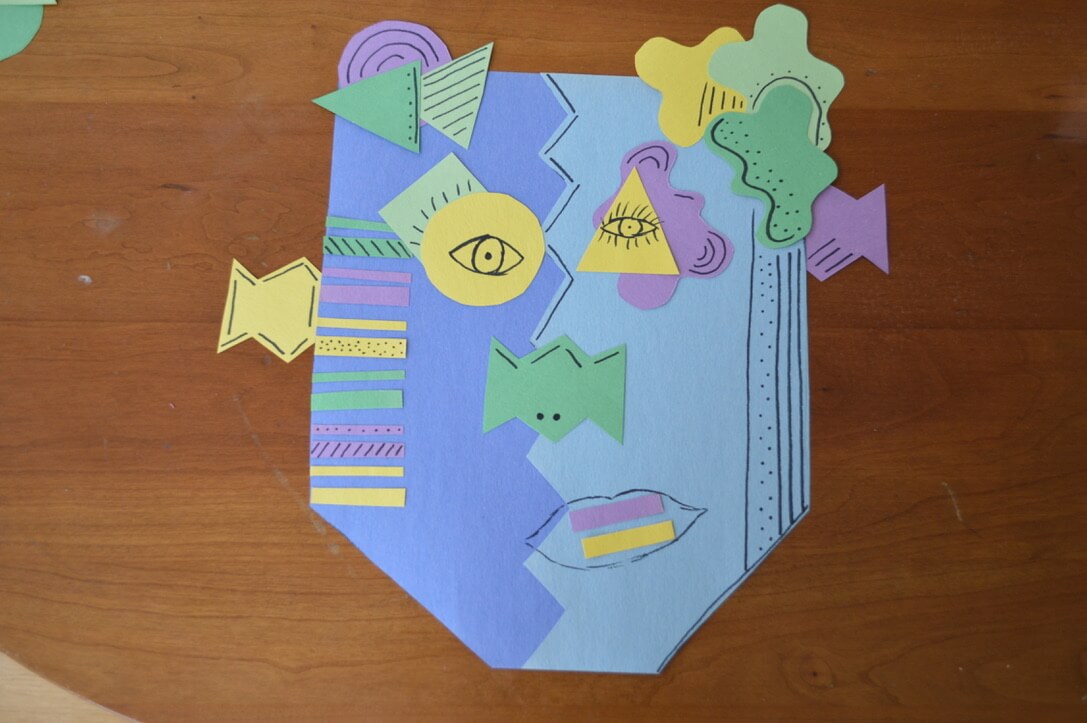
Once you are happy with how it looks, start to glue or tape down the pieces. Once you are finished gluing, you can go back with a marker or crayon to add some extra details to give your portrait even more personality.
This project provides an opportunity for extended learning. You don’t have to ever glue down the pieces. Your kids can take turns rearranging the pieces to make many different faces. Take a picture each time to remember them. If you happen to have some felt on hand, you can cut different shapes out of the felt to do the same thing. Try putting magnets on the back of the paper or felt. Then use a cookie sheet as a background to stick the pieces to. Share any fun ideas you have to recreate this project with the Frick.
Don’t forget when you are done to add your portrait to your art gallery. We would love to see all the things you've have made. To learn a little more about Pablo Picasso or to find some inspiration please visit these websites:
Picasso
Guggenheim
This project is all about portraits. What’s a portrait? It’s a picture of a person. These portraits might not look exactly like you and me, but they are the perfect opportunity to talk about shapes, line, and color with your child.
Supplies
Colorful paper
Pencil
Scissors
Glue
Markers
Pro tip: Most of us only have the supplies that we have at home, so there is plenty of flexibility with this project. If you don’t have colorful paper, use magazines or newspaper. A glue stick will work best for this project, but whatever glue (or tape) you have will work great as well. If you use liquid glue, I suggest using a cotton swab to spread it on your paper so it doesn’t get too thick. Markers, color sticks, colored pencils, or crayons are all great coloring utensils. Use what you have!
Step 1
Let’s start with the face! Draw the shape of the head then cut it out. If you use multiple pieces, glue or tape them together after cutting out. You can pick any shape for the head. Keep it simple and make it an oval or get creative. You can even make it two different colors.
Step 2
Trace and cut out different shapes. This is a great chance to review different shapes with your child. Have them name shapes and you can draw them or vice versa. To save time with cutting, you can layer multiple pieces of paper and cut all at once. This is also a good time for your child to practice his or her scissor skills!
Step 3
Start by laying out the different shapes to help form the face. Have your child name the different parts of the face to make sure you include them all. By laying them out ahead of time, you can move things around until it looks how your child wants.
Step 4
Once you are happy with how it looks, start to glue or tape down the pieces. Once you are finished gluing, you can go back with a marker or crayon to add some extra details to give your portrait even more personality.
This project provides an opportunity for extended learning. You don’t have to ever glue down the pieces. Your kids can take turns rearranging the pieces to make many different faces. Take a picture each time to remember them. If you happen to have some felt on hand, you can cut different shapes out of the felt to do the same thing. Try putting magnets on the back of the paper or felt. Then use a cookie sheet as a background to stick the pieces to. Share any fun ideas you have to recreate this project with the Frick.
Don’t forget when you are done to add your portrait to your art gallery. We would love to see all the things you've have made. To learn a little more about Pablo Picasso or to find some inspiration please visit these websites:
Picasso
Guggenheim


